

Whole-system duct and dryer vent check with before-and-after photos - you see exactly what came out of your vents
That "$99 whole-house special" is a bait ad - the real number appears once they are in your hallway, or the "clean" is a shop-vac at the register. We photograph the inside of your ducts before and after instead.
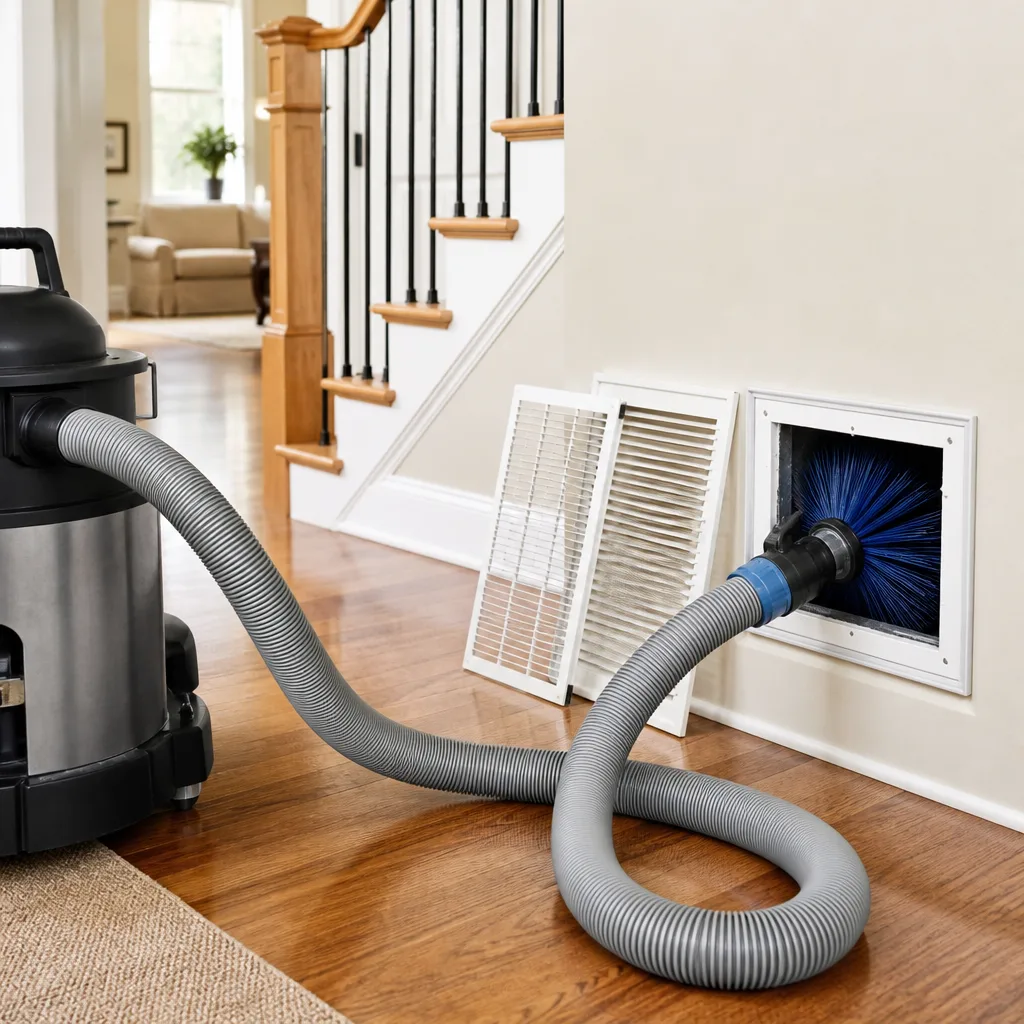
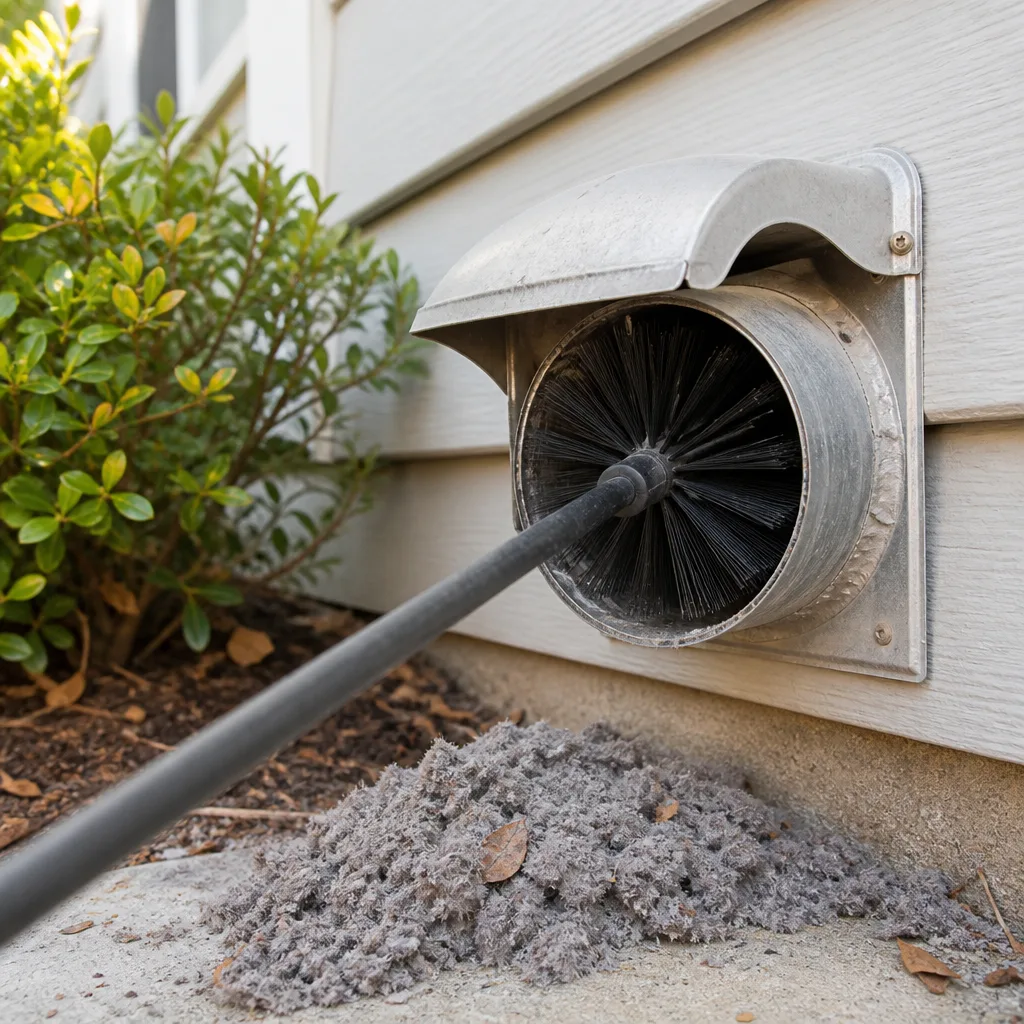
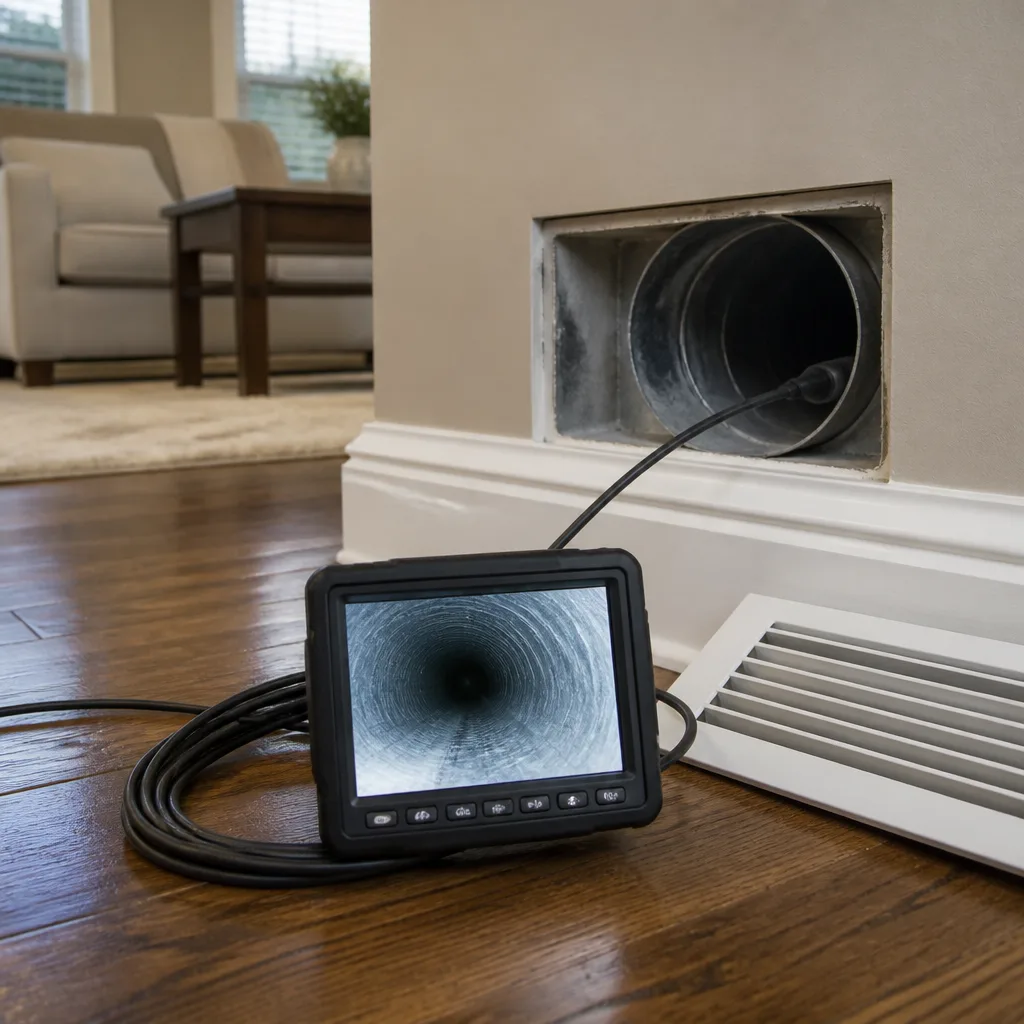
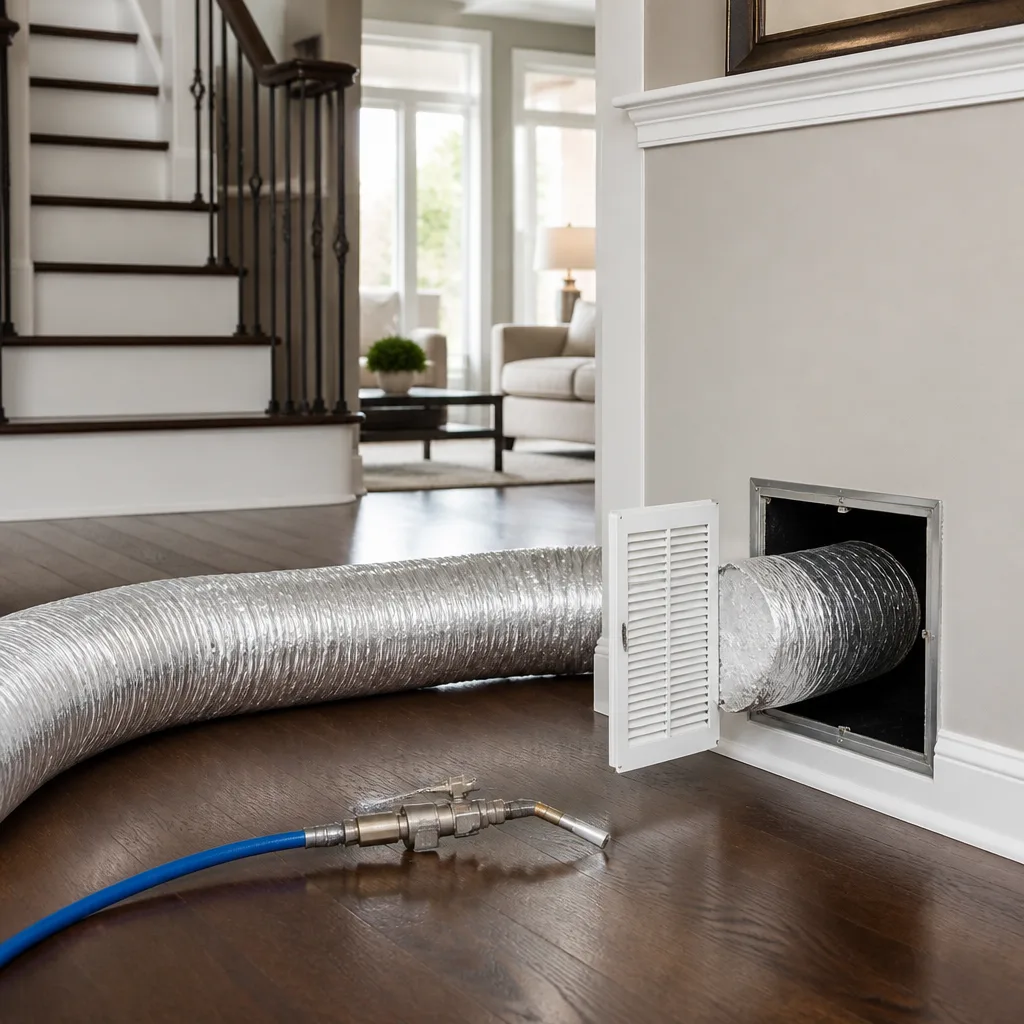
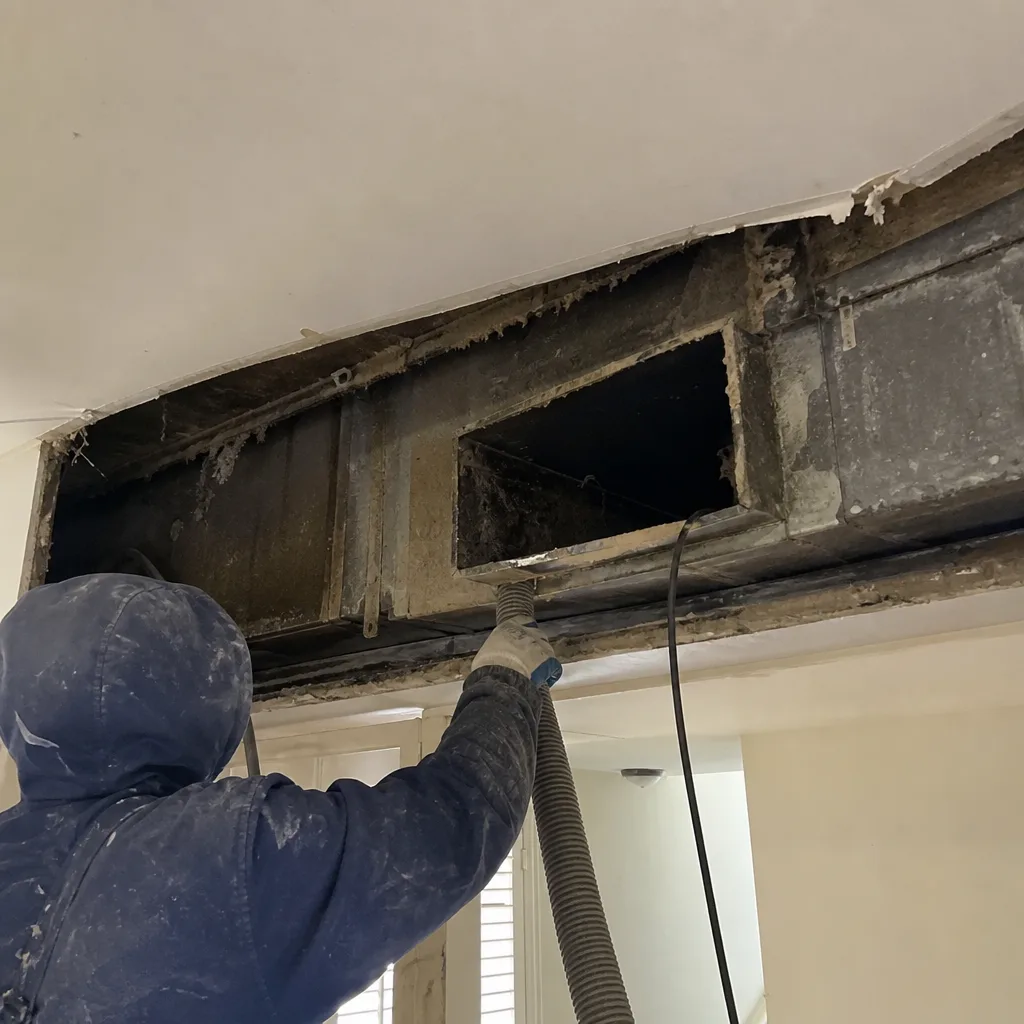 Before
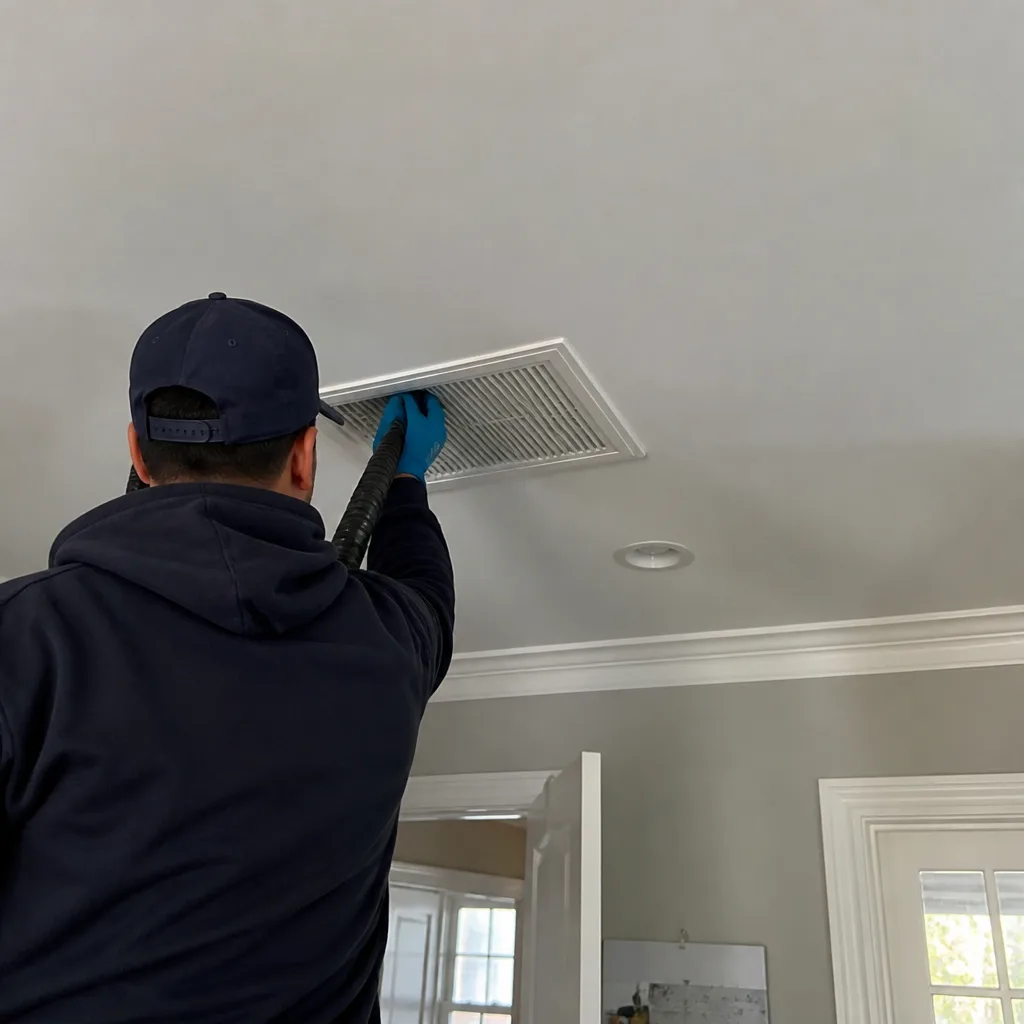 After
After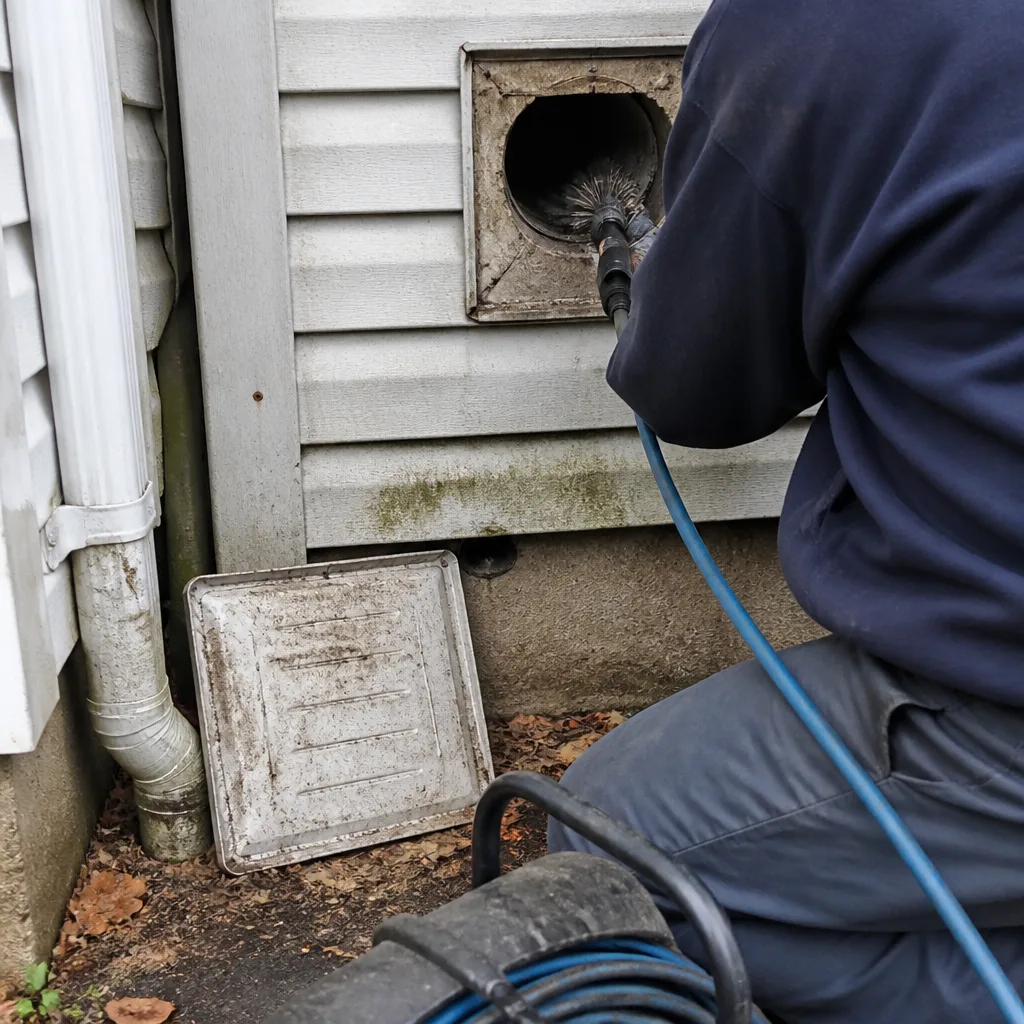 Before
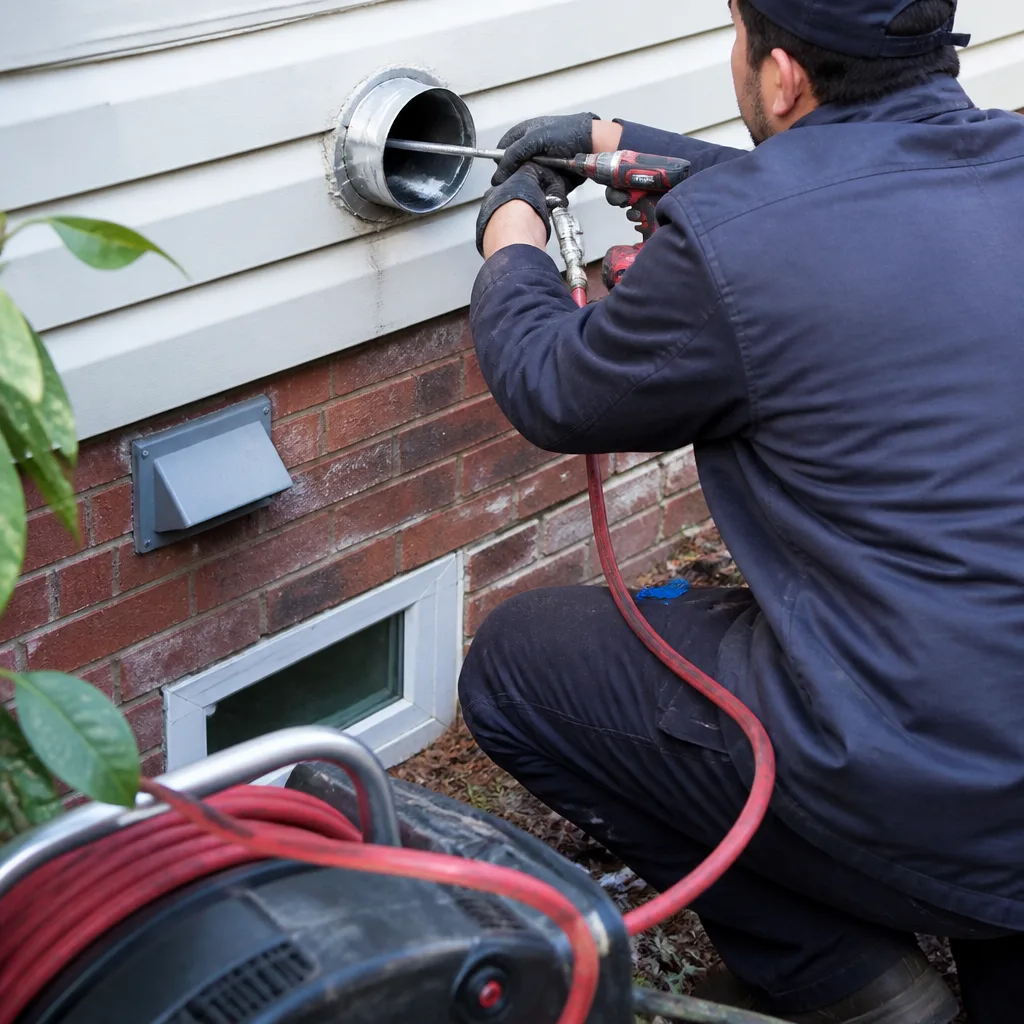 After
After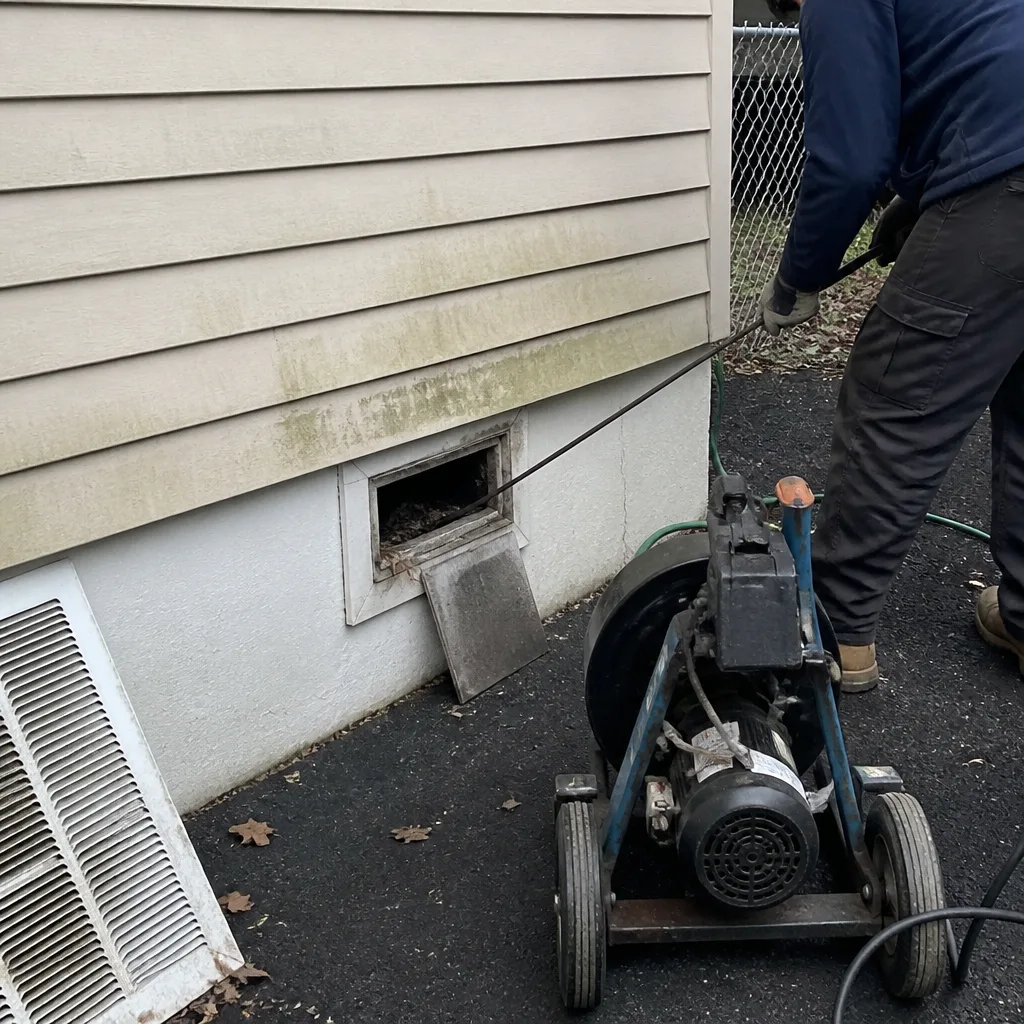 Before
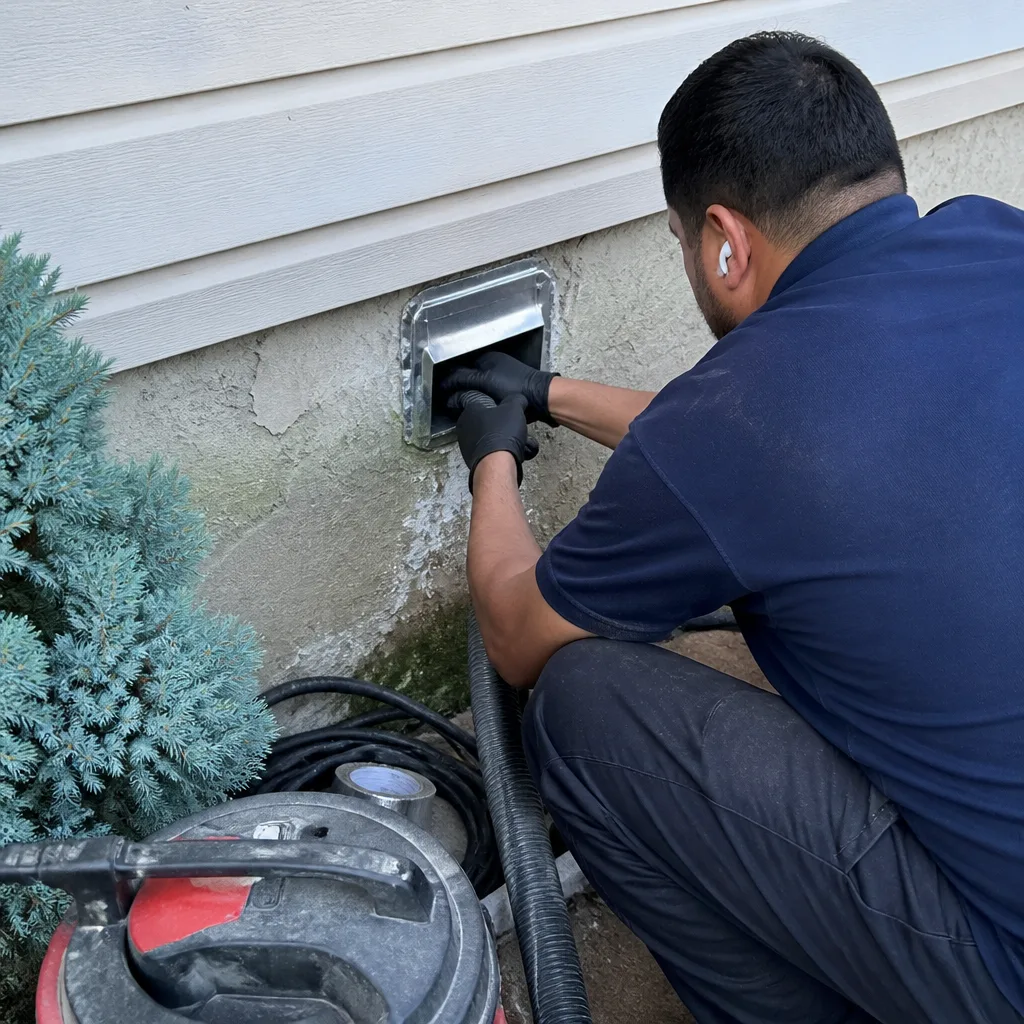 After
AfterThe dryer shuts off before the load is done
What’s Happening
A dryer that cuts out mid-cycle is almost always a thermal overload response – the machine is sensing more heat than it can safely exhaust, so it shuts itself off before something catches fire. In the vast majority of cases, a blocked dryer vent line is the reason the heat has nowhere to go. Clear the vent, and the dryer finishes its job. Leave it blocked, and the next stop is a dryer fire.
Dryers push hot, moist air through a duct that runs from the back of the machine to an exterior cap. Every load deposits a thin layer of lint inside that duct. Over months and years, those layers build up. Airflow drops. The drum temperature climbs past what the thermal fuse or high-limit thermostat is rated for, and the machine shuts down to protect itself. The clothes are still damp. The drum is hot to the touch. And the homeowner runs the cycle again – which compounds the problem. The vent is the most likely cause, but not the only one. Here is how to tell which failure you are dealing with.
Why It Happens
1. A blocked dryer vent line (most common by a wide margin)
Lint accumulates on the inside walls of the vent duct from the very first load. A duct that has never been cleaned, or hasn’t been cleaned in several years, can be partially or fully occluded. You’ll often notice the outside exhaust cap is no longer pushing a strong puff of air when the dryer runs, or the laundry room feels warmer and more humid than usual. If the dryer is hot to the touch on the top or sides and the clothes are damp after a full cycle, restricted airflow is almost certainly involved.
2. A failed or fatigued thermal fuse
Every dryer has at least one thermal fuse – a small, inexpensive component designed to blow permanently if the exhaust temperature gets high enough. Once it blows, the dryer may stop heating entirely or cut the cycle short, depending on the design. A blown thermal fuse is usually caused by chronic overheating, which means the vent restriction caused it in the first place. If you have a multimeter and some comfort with appliance repair, a continuity test will confirm it. If you’re not sure, don’t probe around inside a running appliance; unplug the machine first.
3. A clogged or disconnected transition hose
The flexible section of duct connecting the back of the dryer to the wall is called the transition hose. It’s the part most likely to be kinked, crushed by the machine being pushed too close to the wall, or coated in lint because it was never the right material. Foil accordion hose in particular traps lint at every ridge. Pull the dryer out a few feet and look at the hose – if it’s kinked, crushed, or visibly sagging and packed, that’s a significant restriction point even if the rest of the duct is clear.
4. A worn or weakened high-limit thermostat
The high-limit thermostat acts as a secondary safety cutoff, cycling the heating element off when temperatures exceed a set threshold. When it weakens with age, it may trip at a lower temperature than designed, shutting the cycle down before the load is dry even when the vent is reasonably clear. This tends to appear in dryers that are more than eight or ten years old and have run hot for extended periods. The tip-off is that the problem started gradually – loads taking progressively longer before the abrupt shutoff became the pattern.
What to Do Right Now
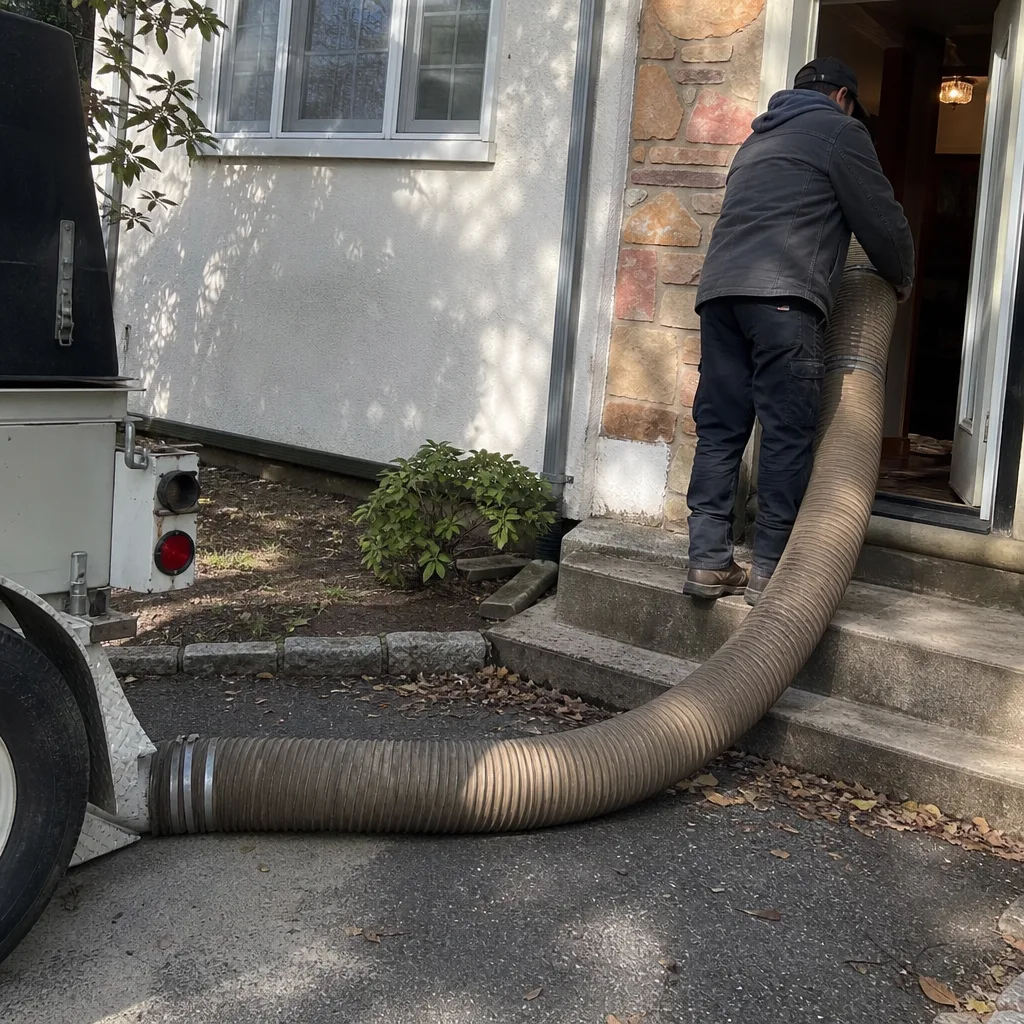
- Stop running the dryer. A machine that is overheating and shutting off is not operating safely. Every additional cycle while the restriction is in place puts more heat into a duct that cannot exhaust it. Pause laundry until the cause is confirmed.
- Check the exterior exhaust cap. Go outside and find the point where the vent exits the house – usually through a wall or the rim joist near the foundation. With the dryer running briefly, you should feel a firm, warm puff of air from the cap louvers. If you feel almost nothing, or nothing at all, you have a significant blockage somewhere in the line.
- Pull the dryer out and inspect the transition hose. Check for kinks, crushing, or obvious lint buildup visible through the ends. If it’s flexible foil accordion-style hose, note that – it’s the type most likely to trap lint at every ridge. Do not attempt to clean the duct system yourself with a shop vacuum inserted at the wall; this tends to compact lint further into the line rather than remove it.
- Clean or replace the lint trap. This is the one step that is genuinely safe to do immediately. Remove the screen, wash it with warm water if there’s fabric softener residue coating the mesh (residue blocks airflow even when there’s no visible lint), and let it dry before replacing it. A coated trap can reduce airflow by a meaningful amount on its own.
- Photograph what you find. If the cap is barely moving air, if the transition hose is visibly damaged or kinked, take a photo before touching anything. A technician arriving to clean or inspect the line will want to know what condition you found it in. The photo also protects you if there’s a question later about what the problem was.
BeforeAfterHow We Fix It
When your local CleanRun Air Duct Cleaning team arrives, the first thing they do is inspect the full vent path – from the dryer connection at the wall to the exterior exhaust cap. That means checking the transition hose, mapping the duct route, and measuring airflow before anything else is touched. The technician will tell you what they found, in plain terms, before any work begins. Your written price comes next, under Haven Standard Clause 1 – flat, scoped, and signed before a single panel comes off. No verbal estimates, no “we’ll know more once we’re inside.”
The primary service that resolves this symptom is Dryer Vent Cleaning. On most jobs, that means running a rotary brush system through the full duct length, clearing the accumulated lint in layers rather than compacting it. If the inspection finds a disconnected section, a crushed transition hose, or a vent termination cap that’s failed, Duct Repair & Sealing covers that work. Most dryer vent jobs are completed in one visit. Before the technician leaves, you receive a Documented Photo Record – inside the duct, before and after – so you can see the difference between real work and a machine running in your laundry room. The 365-Day Done Right Promise backs every job in writing. If the work isn’t right, CleanRun makes it right. That’s not a policy subject to manager approval; it’s in writing on every job record.
Frequently Asked Questions
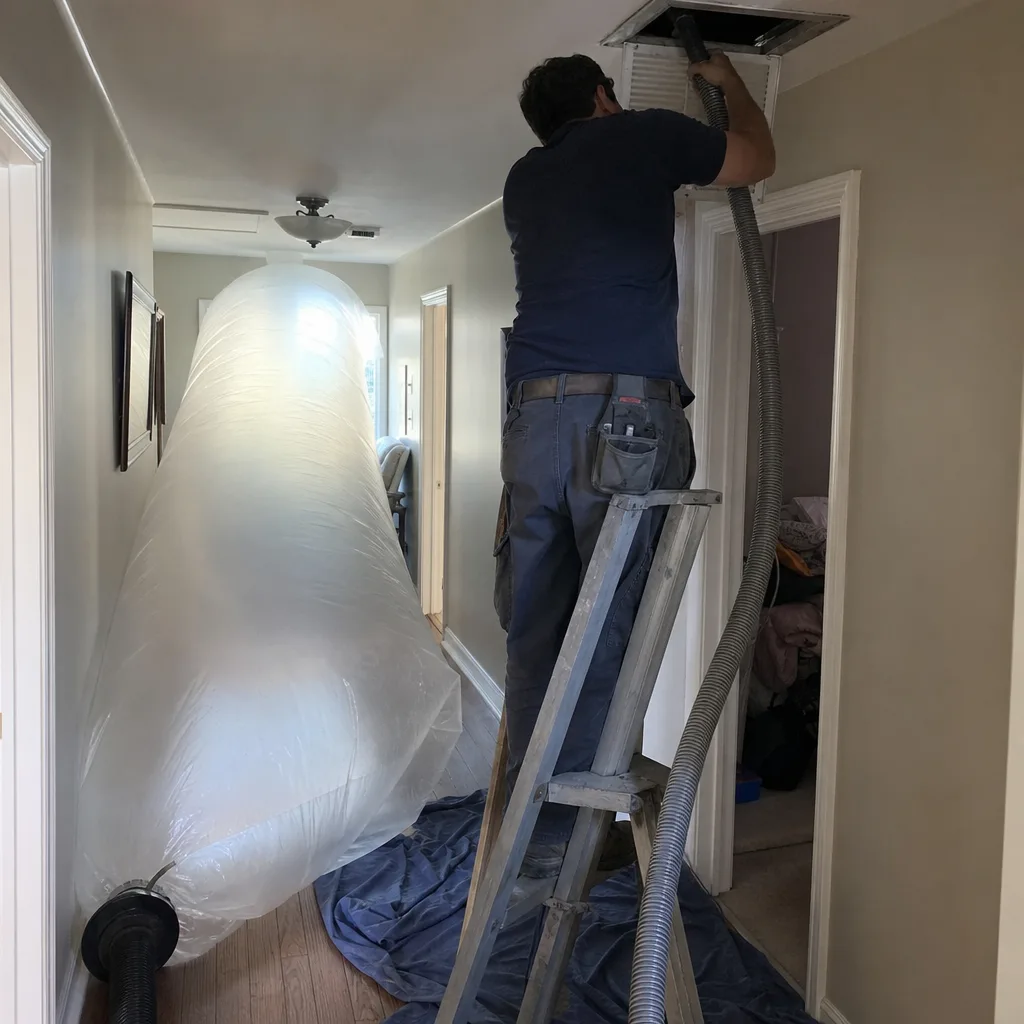
It’s genuinely dangerous. A dryer vent blocked enough to trigger the thermal shutoff is a dryer vent that is actively accumulating heat it cannot exhaust – and lint is combustible. The thermal fuse and high-limit thermostat are safety devices, not a performance feature; when they’re tripping regularly, the machine is telling you it’s operating outside safe parameters. Stop using the dryer until the vent is inspected. Call (806) 606-6902 to get a technician scheduled.
It should not wait. A vent restricted enough to cause repeated thermal shutoffs is the same condition linked to dryer fires. Using the machine on repeat cycles to “get the load done” compounds the heat load each time. If you need to run a load before a technician can arrive, keep it to one short cycle, stay in the home while it runs, and make sure you have working smoke detection in or near the laundry area. Call (806) 606-6902 to get on the schedule as soon as possible.
For a typical household running several loads per week, once a year is a reasonable baseline. Households with more frequent laundry, pet hair, or longer duct runs may need it more often – longer runs give lint more surface area to adhere to before it reaches the exterior cap. If your vent has never been cleaned and the dryer has been in the house for several years, it almost certainly needs attention regardless of whether symptoms have appeared yet.
Yes – always. Haven Standard Clause 1 is a written price delivered before any work begins, on every job, without exception. There is no “call for a quote” at CleanRun; the quote comes to you, in writing, on site, before a single duct panel or dryer connection is touched. If you have a written estimate from another company, CleanRun will put its own number next to it in writing at no charge – that’s the Free Second Opinion, available on any written estimate.
Get It Fixed
Call (806) 606-6902 or book online and your local CleanRun Air Duct Cleaning team will inspect the full vent path, give you a written price before any work starts, and leave a documented photo record when the job is done. The 365-Day Done Right Promise is in writing on every job.
Written by Tomas Reyes, Owner & Lead Technician at CleanRun Air Duct Cleaning, serving homeowners since 2013.
What Our Customers Say
"The before and after photographs of each run are the reason I used them. You cannot argue with what came out of the return."
- Marguerite O."Flat price agreed up front, no per-vent add-ons at the end. That was the whole reason I did not call the coupon company."
- Suzanne B."The dryer vent was almost completely blocked with lint. They showed me the photograph and I understood immediately why the dryer had been running twice."
- Lucia M.