

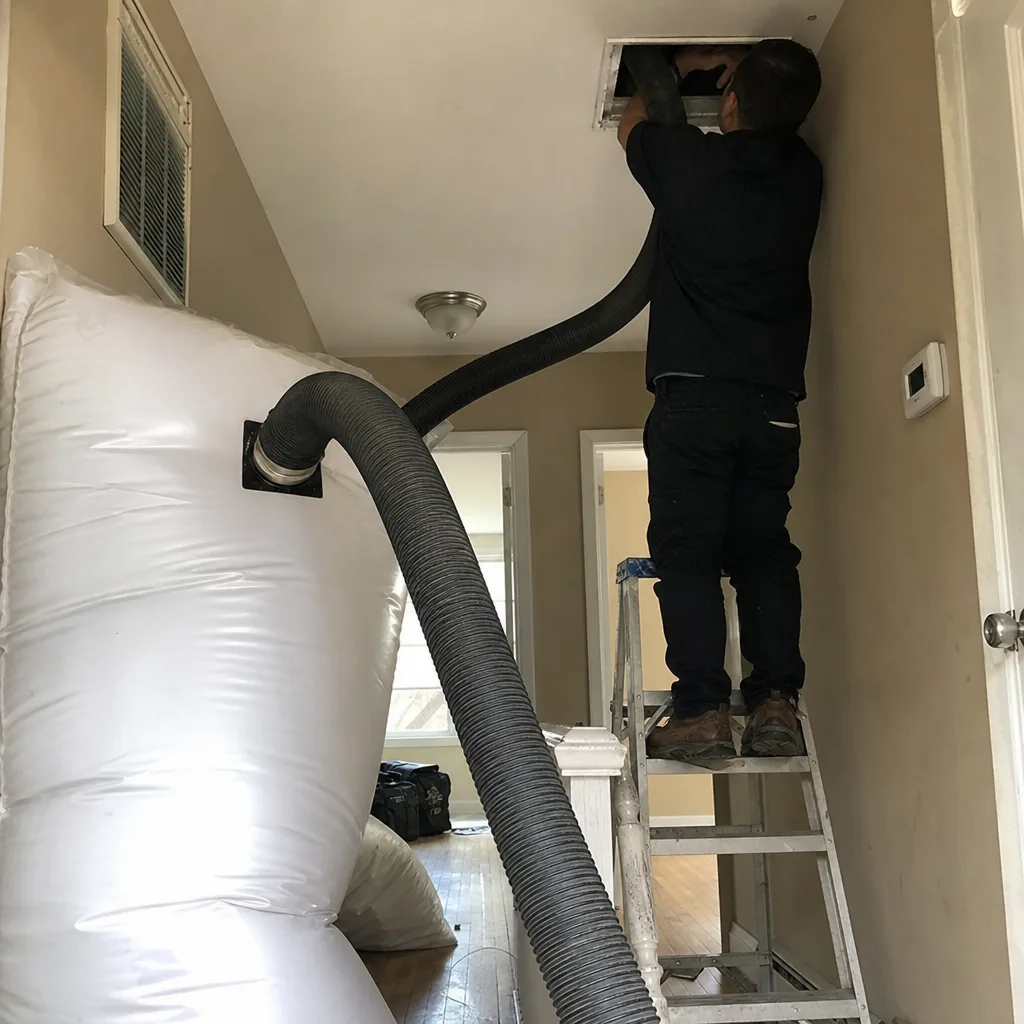
Whole-system duct and dryer vent check with before-and-after photos - you see exactly what came out of your vents
That "$99 whole-house special" is a bait ad - the real number appears once they are in your hallway, or the "clean" is a shop-vac at the register. We photograph the inside of your ducts before and after instead.
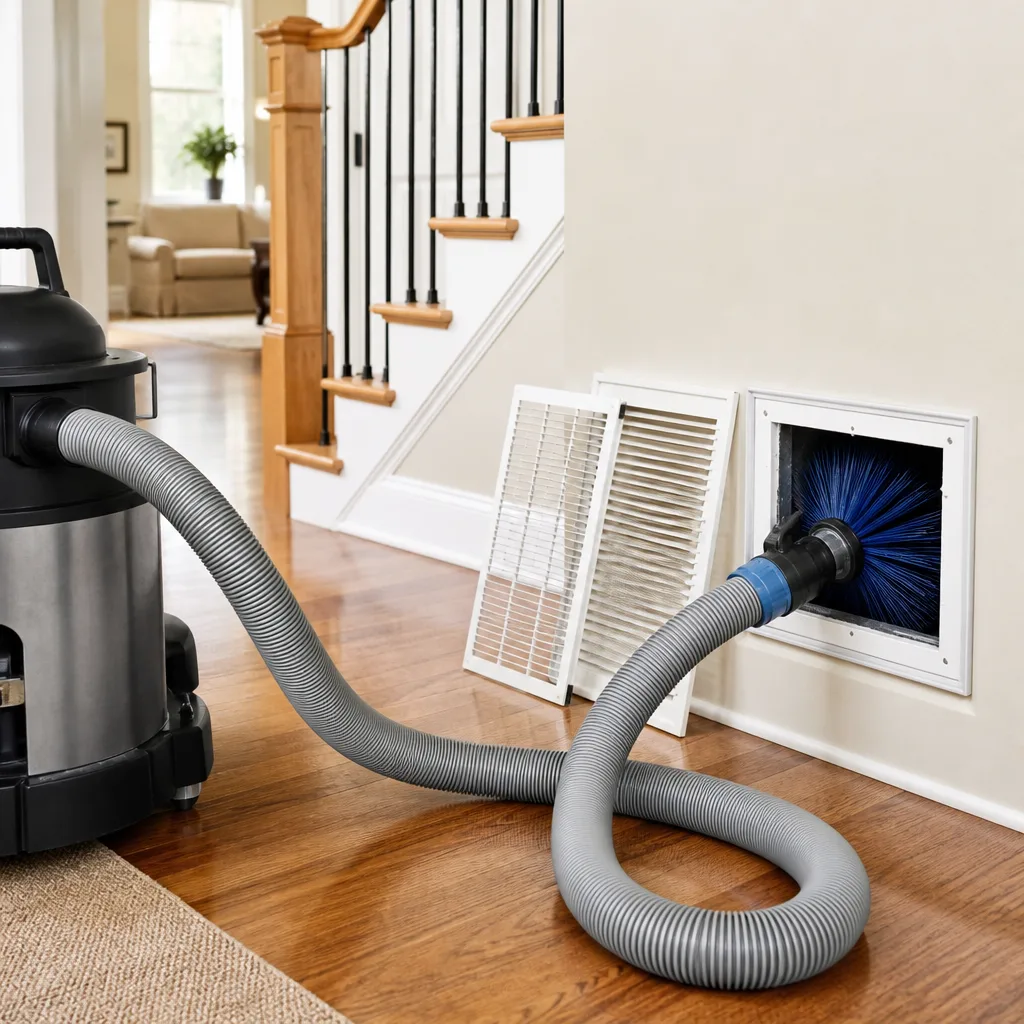
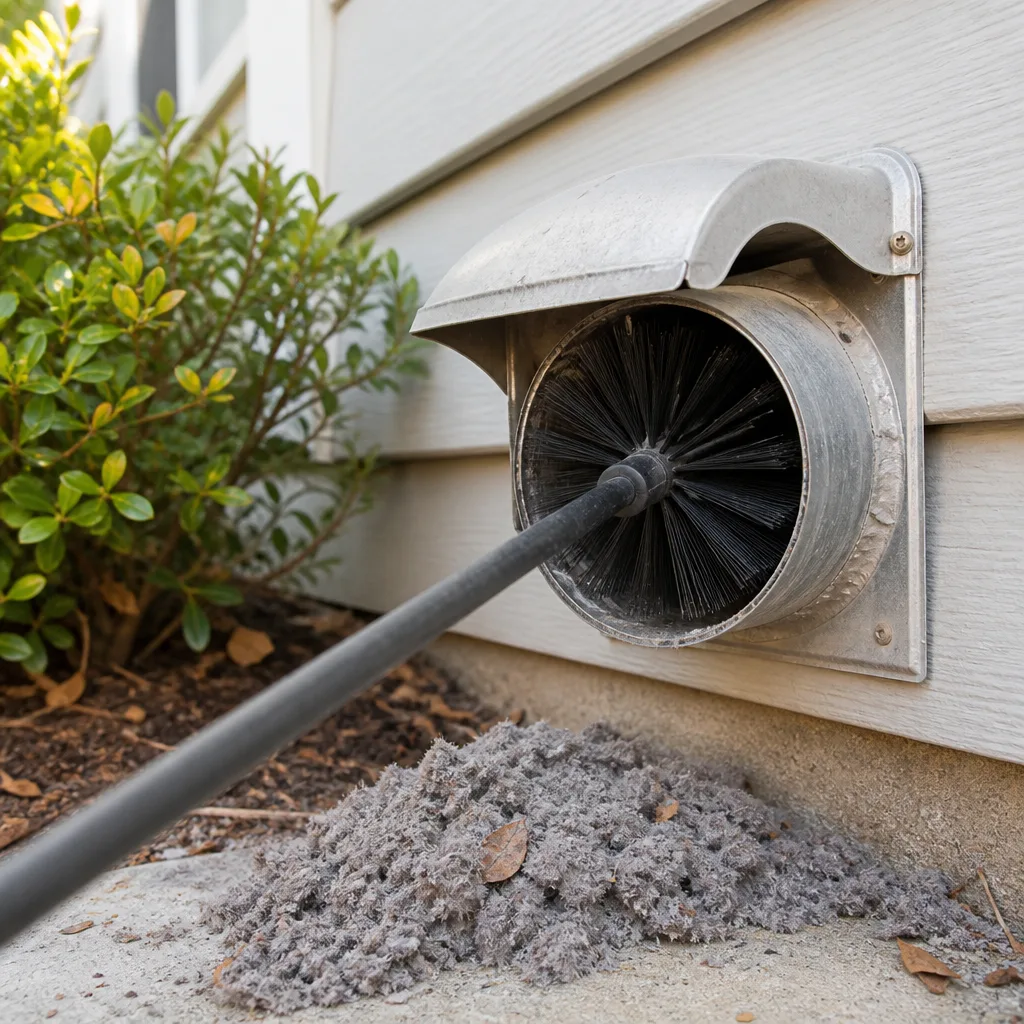
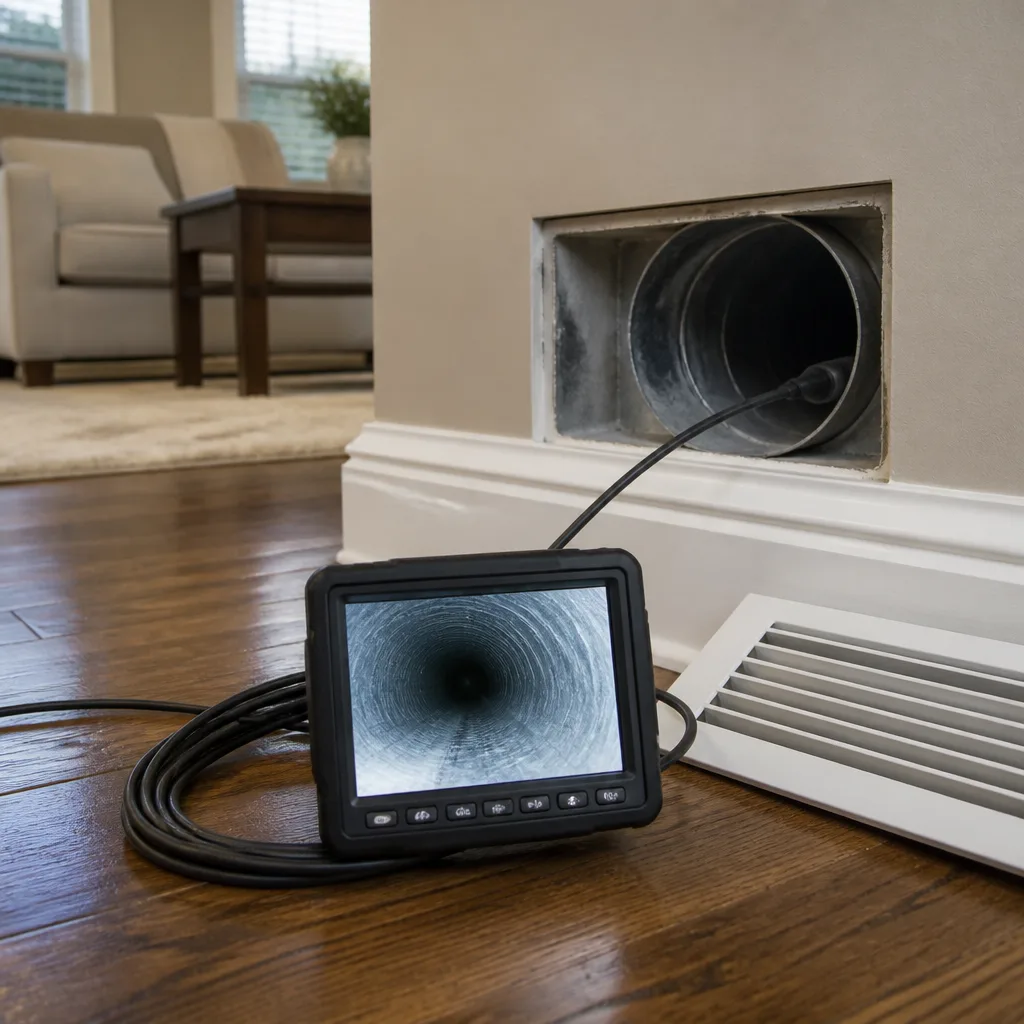
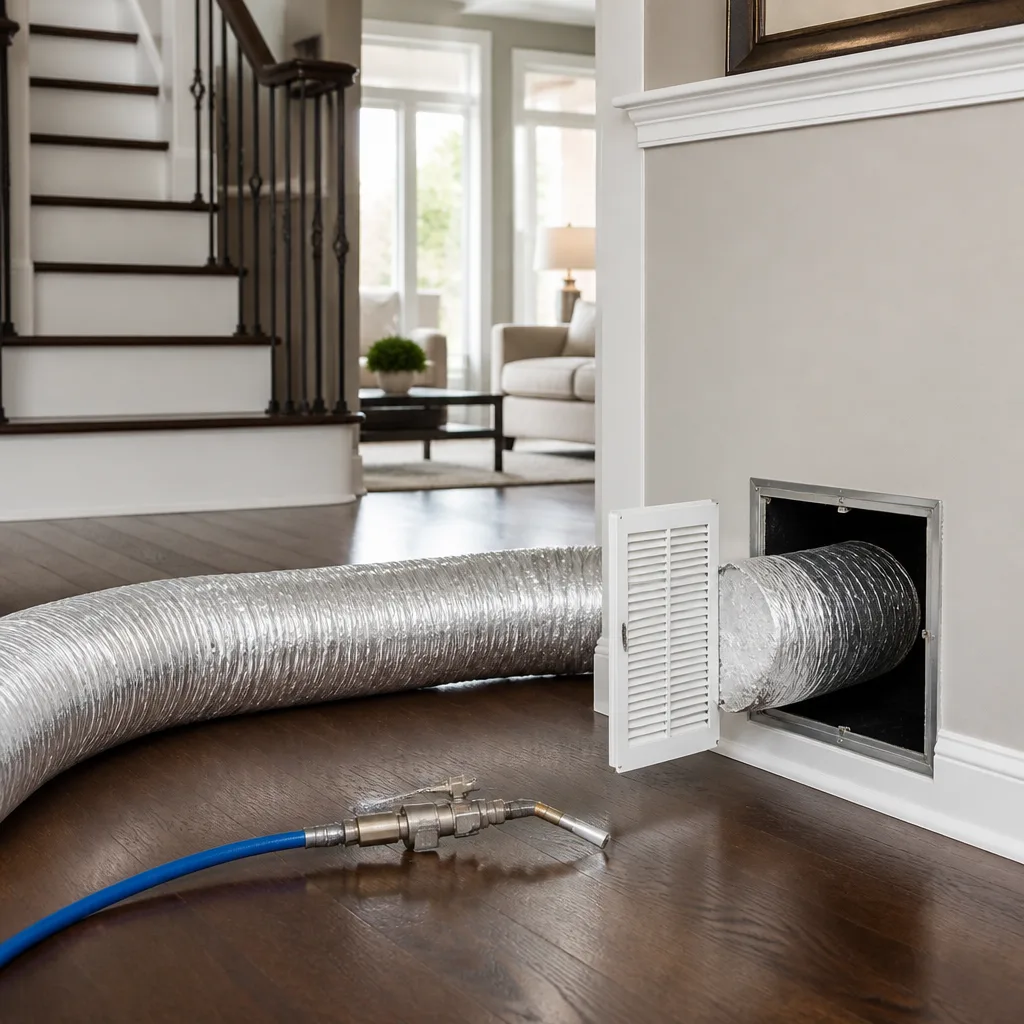
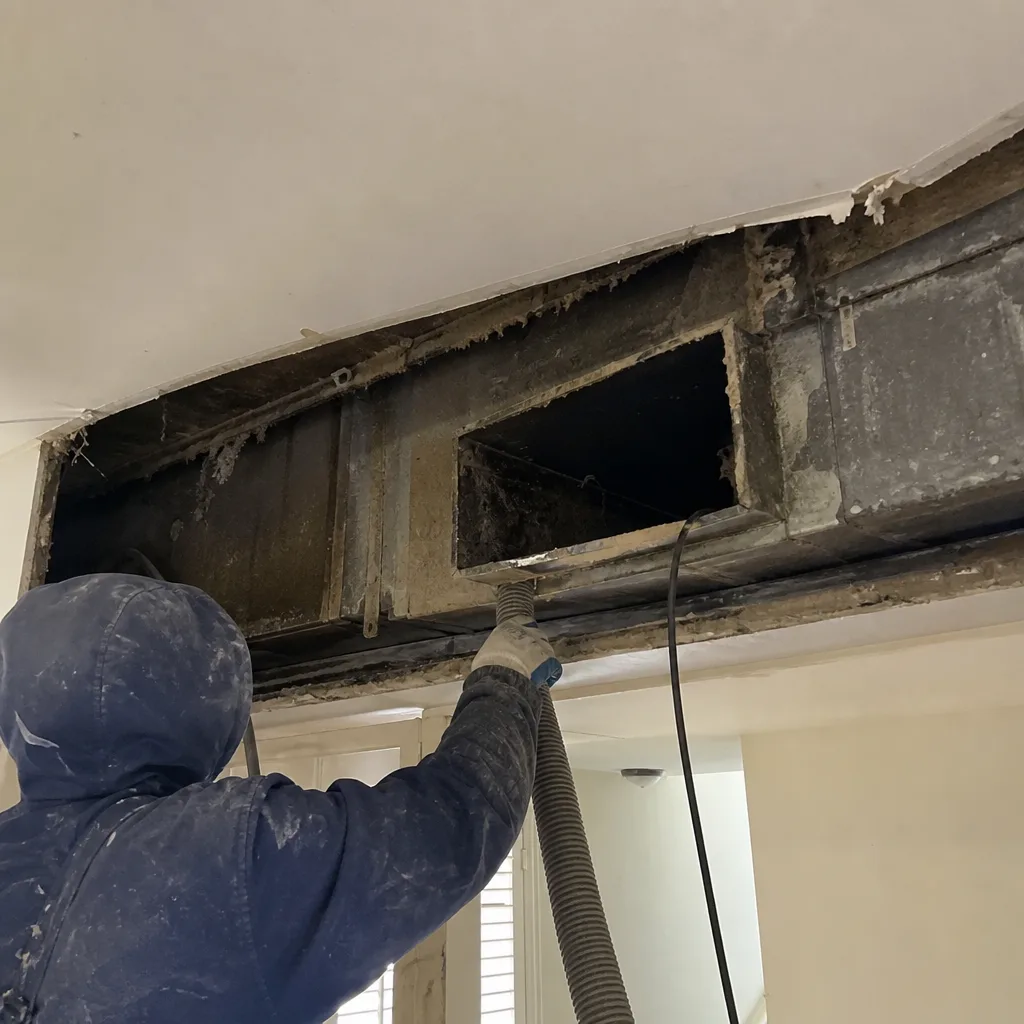 Before
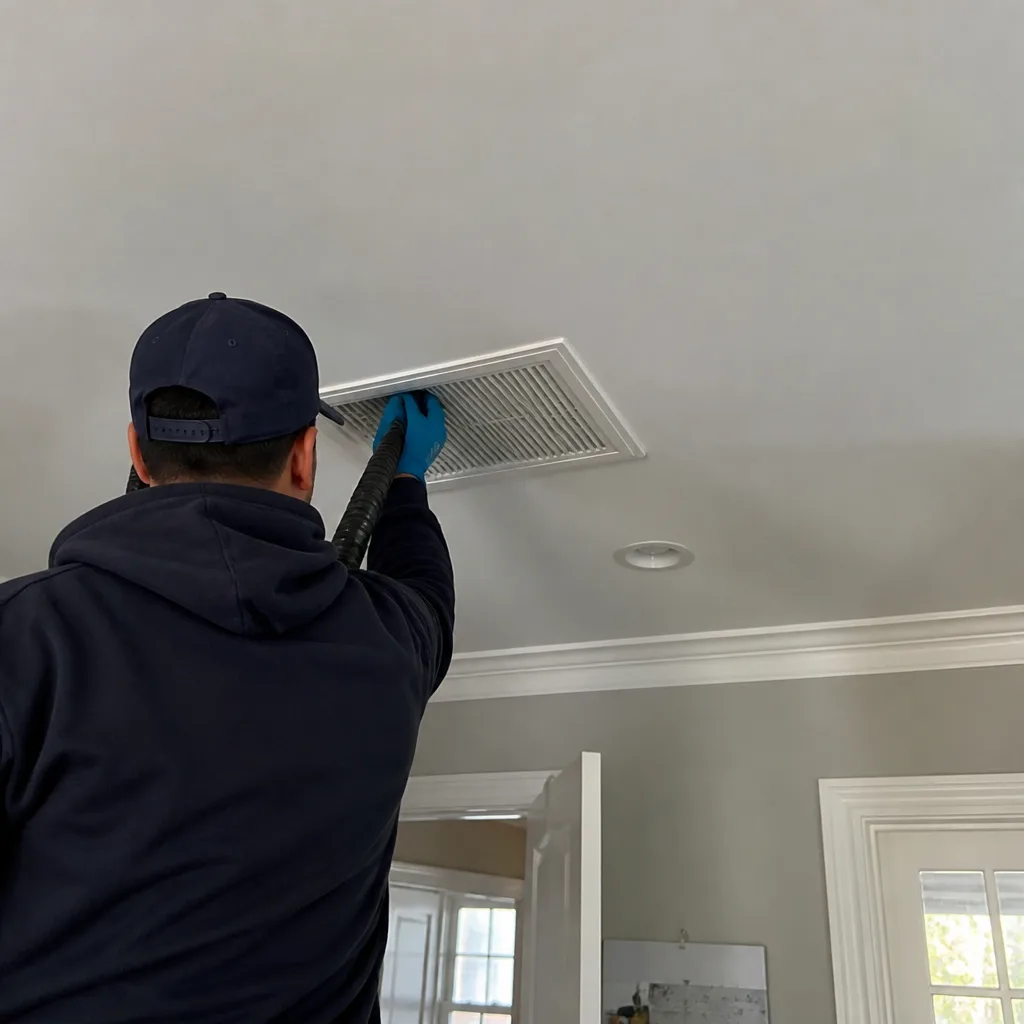 After
After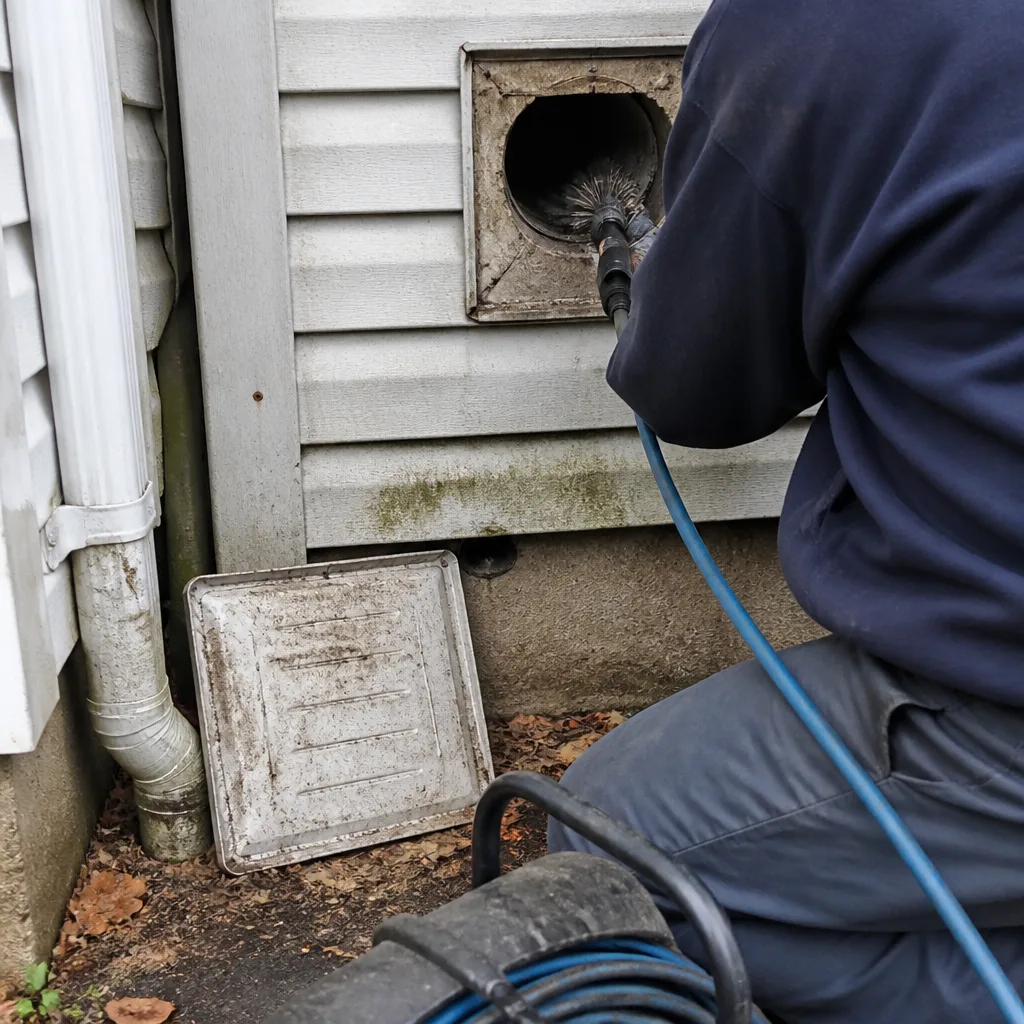 Before
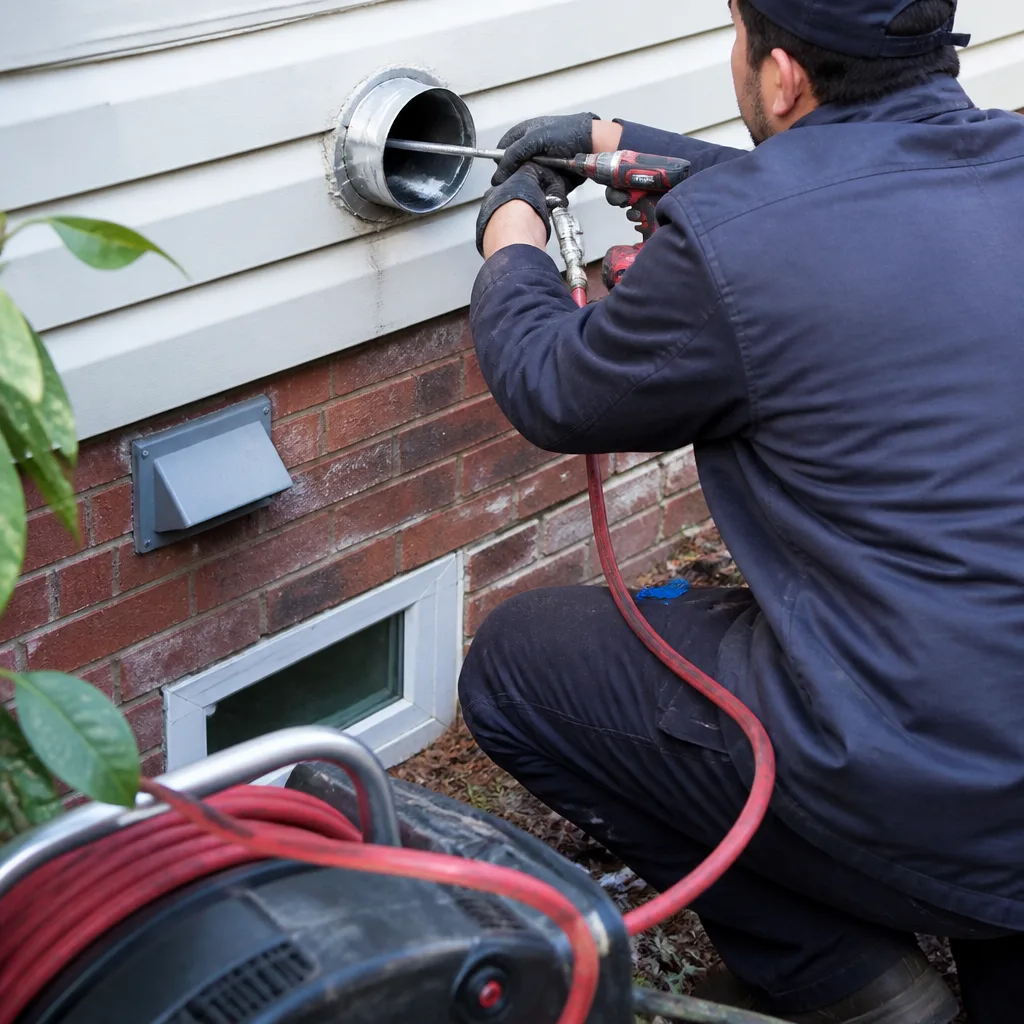 After
After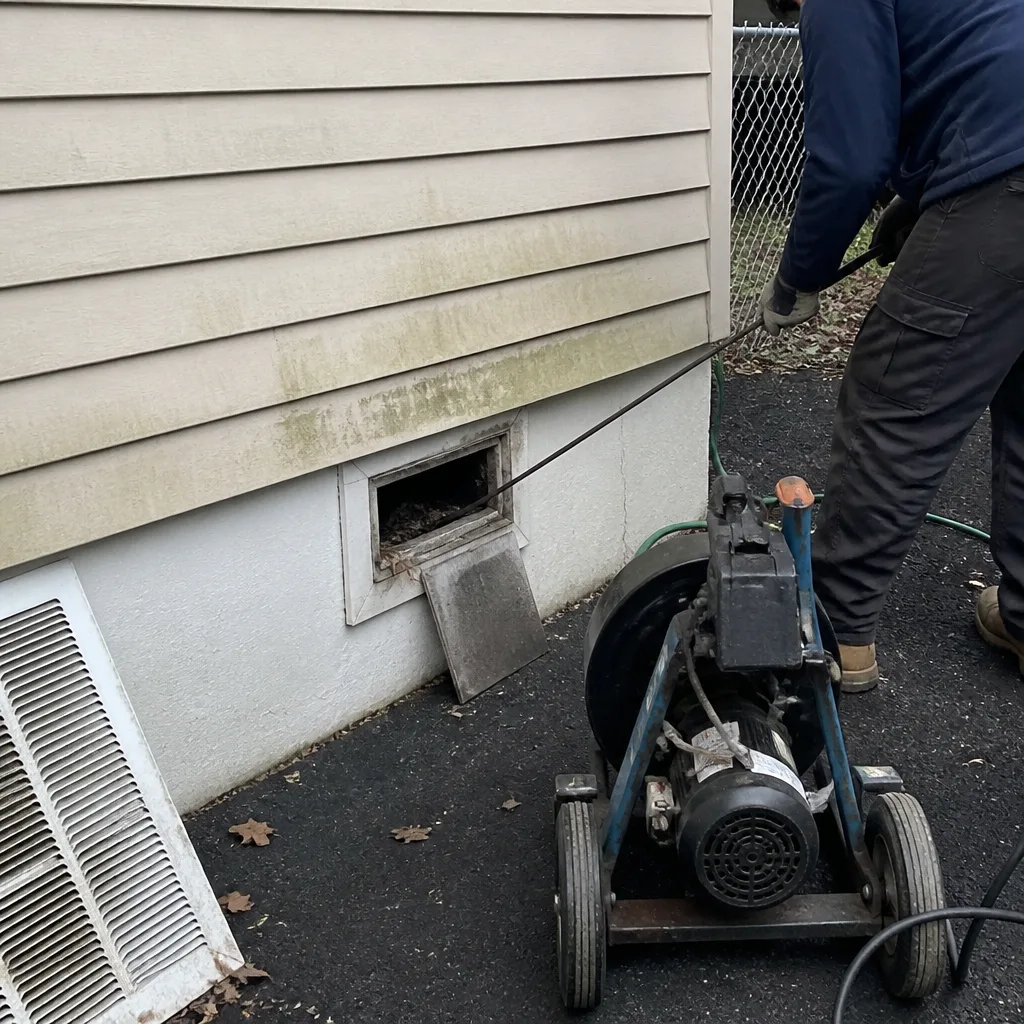 Before
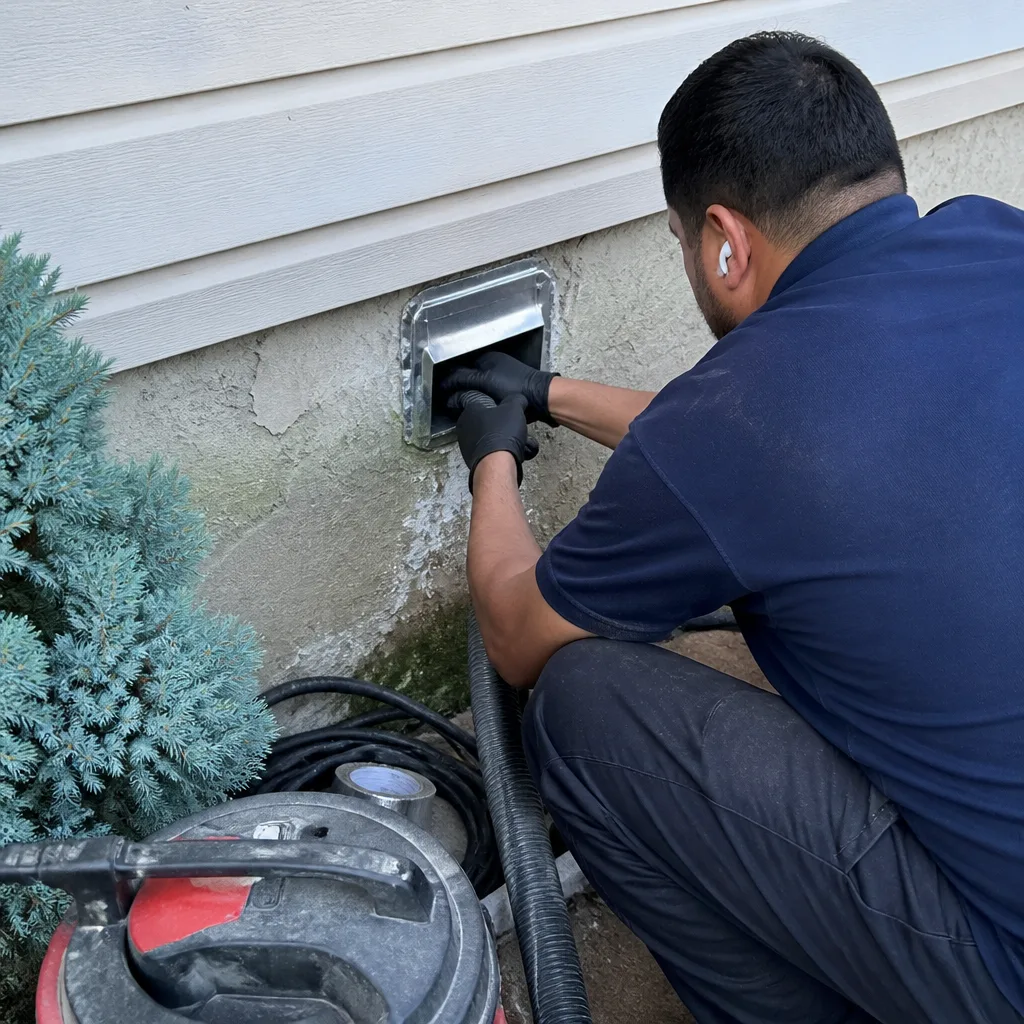 After
AfterBurning Smell When the Dryer Runs
A burning smell from a running dryer is almost always a lint buildup problem, and it is one you should take seriously before the next load. Lint is highly flammable, and when it accumulates inside the dryer vent line, it can reach temperatures that scorch – and occasionally ignite – without warning. Stop using the dryer until you know what you are dealing with.
What’s Happening
A burning smell when the dryer runs almost always means lint has built up somewhere in the vent system – inside the duct line, at the exterior termination cap, or packed around a component inside the machine itself – and that lint is getting hot enough to scorch. This is not a quirk to monitor. It is the early warning sign that most residential dryer fires share in common.
Dryer vent lines are designed to move warm, moisture-laden air from the drum to the outside of the house. When lint coats the interior walls of that duct, airflow slows, the dryer works harder to compensate, exhaust temperatures climb, and the accumulated lint eventually gets hot enough to smell. The longer that cycle runs without correction, the closer it gets to ignition. Most homeowners assume the dryer itself is the problem. Often it is, but just as often the issue is entirely inside the vent line – which means the dryer is fine and the duct is the thing that needs attention.
Why It Happens
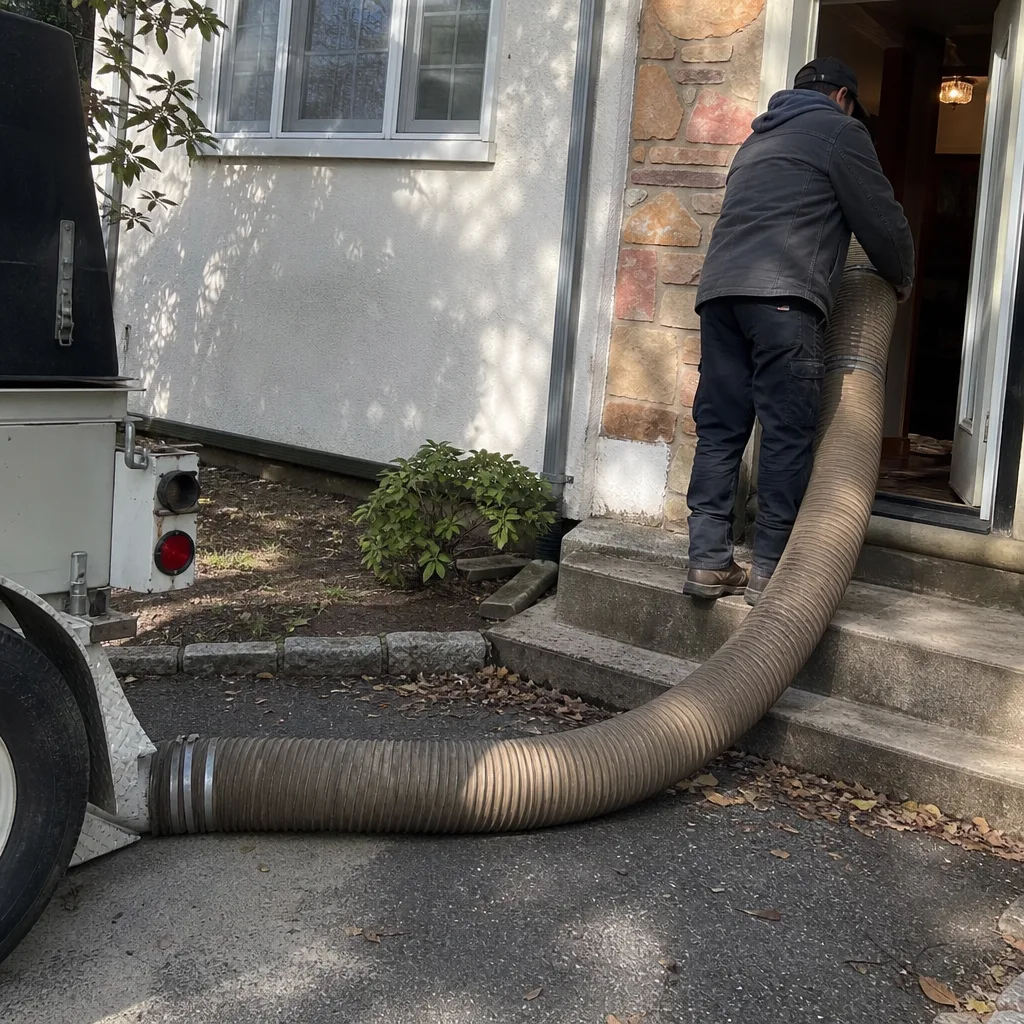
Lint Accumulation in the Vent Line
This is the most common cause by a significant margin. Lint that passes through the lint trap – and a meaningful amount always does – coats the interior of the flexible or rigid duct behind the dryer and progressively narrows the airflow path. You can get a rough sense of how restricted the line is by checking how damp your clothes feel after a normal cycle and whether the dryer is running noticeably hotter than usual. A duct that has not been cleaned in more than a year and belongs to an active household is the first suspect.
A Blocked or Failing Exterior Termination Cap
The cap on the outside wall where the vent exits the house is fitted with a flapper or louvered cover that keeps pests and weather out. When that cap gets packed with lint, gets stuck shut, or has been damaged, exhaust has nowhere to go. The dryer keeps running, the heat has no exit, and the burning smell follows. You can check this one yourself: walk outside during a drying cycle and hold your hand near the cap. You should feel steady warm airflow. If you feel almost nothing, the termination is restricted.
Lint Buildup Around Internal Components
Lint that migrates past the trap and into the cabinet of the dryer can settle on or near the heating element, the motor housing, or the drum felt seals. When those components reach operating temperature, the lint scorches. The smell in this case tends to be sharper and more immediate – often noticeable within the first few minutes of a cycle rather than building gradually. Do not attempt to open the dryer cabinet yourself to investigate the heating element; that component operates at high voltage and requires a technician.
A Partially Disconnected or Crushed Duct Section
Flexible duct lines – the accordion-style connector between the dryer and the wall – get kinked, crushed, or pulled loose at fittings more often than people expect. When a section partially disconnects, hot exhaust vents into the wall cavity or cabinet space instead of traveling out of the house. This produces a burning or musty smell that does not seem to come from the machine itself and may be detectable in adjacent rooms. Check the duct run visible behind the dryer for obvious kinks, gaps at connection points, or sections that have come loose from their fittings.
BeforeAfterWhat to Do Right Now
- Stop using the dryer. Finish the load that is running if it is nearly done, then do not start another cycle until the vent has been inspected. Continuing to run a dryer with a restricted vent is how a warning sign becomes a fire.
- Check the lint trap and the trap housing. Pull the lint screen, clear it completely, and look down into the housing with a flashlight. Lint that has bypassed the screen and collected in the housing slot is a sign the vent line itself likely has buildup too.
- Walk outside and check the termination cap. During any future cycle, check whether you can feel warm, steady airflow at the exterior vent cap. A stuck flapper or packed cap is something you can see and photograph as documentation before a technician arrives.
- Photograph what you find. If you can see visible lint accumulation at the cap, at duct connections, or inside the trap housing, take photos. This gives the technician a starting point and gives you a record of the condition before work begins.
- Do not attempt to service the heating element, motor, or internal dryer components yourself. These parts operate under high voltage. If the smell is coming from inside the machine rather than from the duct line, that diagnosis belongs to a technician – not a screwdriver and a YouTube video.
How We Fix It
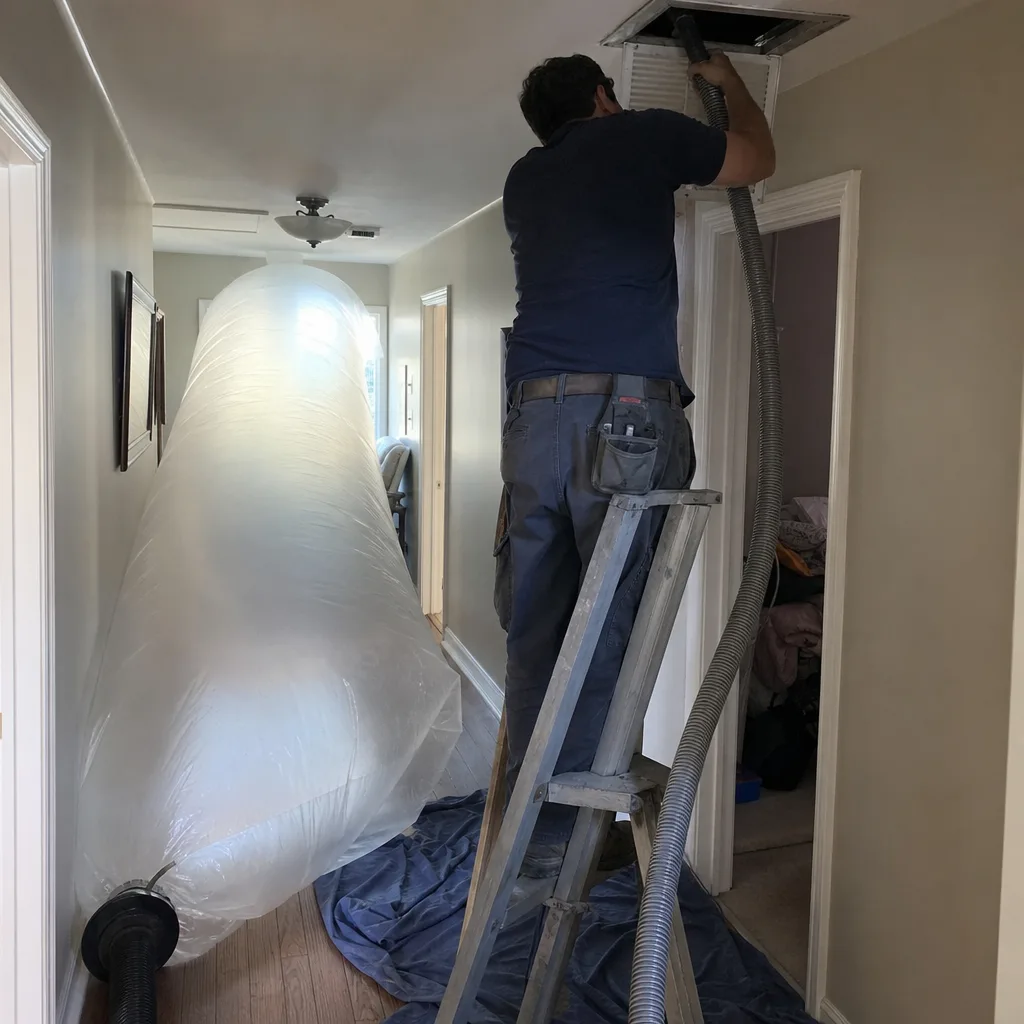
When your local CleanRun Air Duct Cleaning team arrives, the technician starts with the vent line from both ends – the dryer connection and the exterior cap – before any cleaning equipment goes in. That inspection tells us whether the problem is purely lint accumulation, a damaged duct section, a failing cap, or some combination. The findings go into the job record before any work is agreed to, and you receive a written price before a single panel comes off – no exceptions, under Haven Standard Clause 1.
For most jobs, the primary service is Dryer Vent Cleaning, using professional-grade equipment including Rotobrush tooling sized for residential vent lines. If the inspection finds a crushed, disconnected, or degraded duct section, Duct Repair & Sealing is added to the written scope – still priced in full before work starts. A standard dryer vent cleaning and inspection takes roughly one to two hours. The job is not complete until the technician photographs the interior of the line and the exterior cap after cleaning, and that photo record is handed to you as part of the standard job documentation. The 365-Day Done Right Promise covers the work: if it is not right, we make it right, in writing.
Frequently Asked Questions
It is genuinely dangerous, and it should not wait. A burning smell from the dryer vent system is the most common warning sign documented before residential dryer fires, and the underlying cause – lint reaching scorching temperature – does not resolve on its own. Stop using the dryer and get the vent inspected before the next load. Call (806) 606-6902 and your local CleanRun team can schedule an inspection and give you a written price before any work begins.
Scheduling depends on your local team’s availability at the time you call. The best way to find out is to call (806) 606-6902 – a live person answers every call, around the clock, and they can tell you exactly what the nearest open window looks like and who the technician will be. We do not run a “call for a quote” model; when you call, you get a real answer about scheduling and a written price before anyone arrives.
A few signs point toward the vent line: the smell builds gradually rather than appearing immediately, clothes take longer than one cycle to dry, and the exterior cap shows little or no airflow during operation. A sharp smell in the first few minutes of a cycle, especially combined with a burning plastic or electrical odor, is more likely an internal component issue. In practice, the technician’s inspection at arrival makes this determination – you do not need to diagnose it exactly before you call.
The job includes a full inspection of the vent line from the dryer connection to the exterior termination, mechanical cleaning of the interior duct using professional equipment, a check and clear of the exterior cap, and a documented photo record of the inside of the line before and after cleaning. The written price covers all of that – there are no add-ons presented after the van is on the driveway. If the inspection finds a damaged duct section that needs repair, that is added to the written scope before any work starts, not billed as a surprise at the end.
Get It Fixed
Call (806) 606-6902 and your local CleanRun Air Duct Cleaning team will schedule an inspection, give you a written price before anything starts, and leave you with a documented photo record when the job is done. No surprises, no exceptions.
Written by Tomas Reyes, Owner & Lead Technician at CleanRun Air Duct Cleaning, serving homeowners nationwide since 2013.
What Our Customers Say
"They found a disconnected duct in the crawl space that had been dumping conditioned air under the house for years. Photographed it, quoted the repair, fixed it."
- Devon A."On time, professional, and explained what the readings meant without talking down to me."
- Warren E."The before and after photographs of each run are the reason I used them. You cannot argue with what came out of the return."
- Marguerite O.