

Whole-system duct and dryer vent check with before-and-after photos - you see exactly what came out of your vents
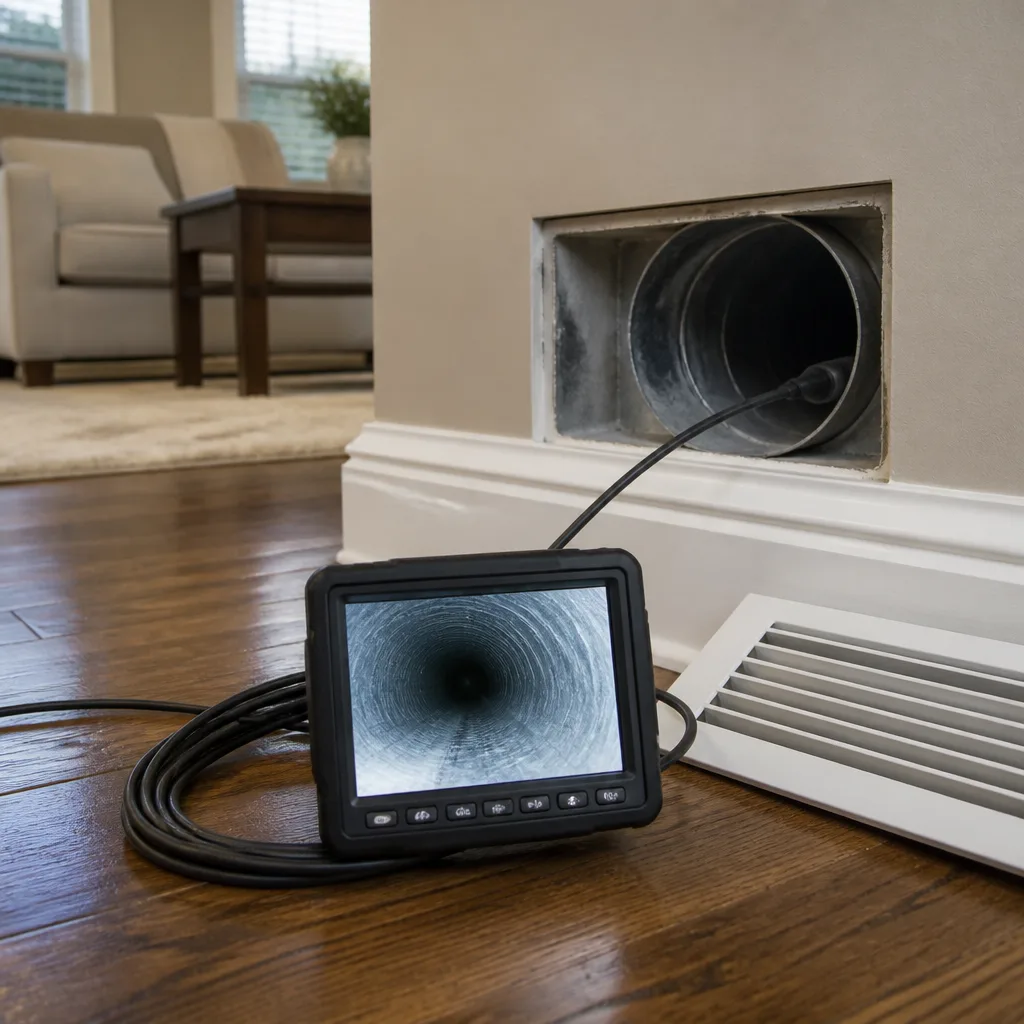
That "$99 whole-house special" is a bait ad - the real number appears once they are in your hallway, or the "clean" is a shop-vac at the register. We photograph the inside of your ducts before and after instead.
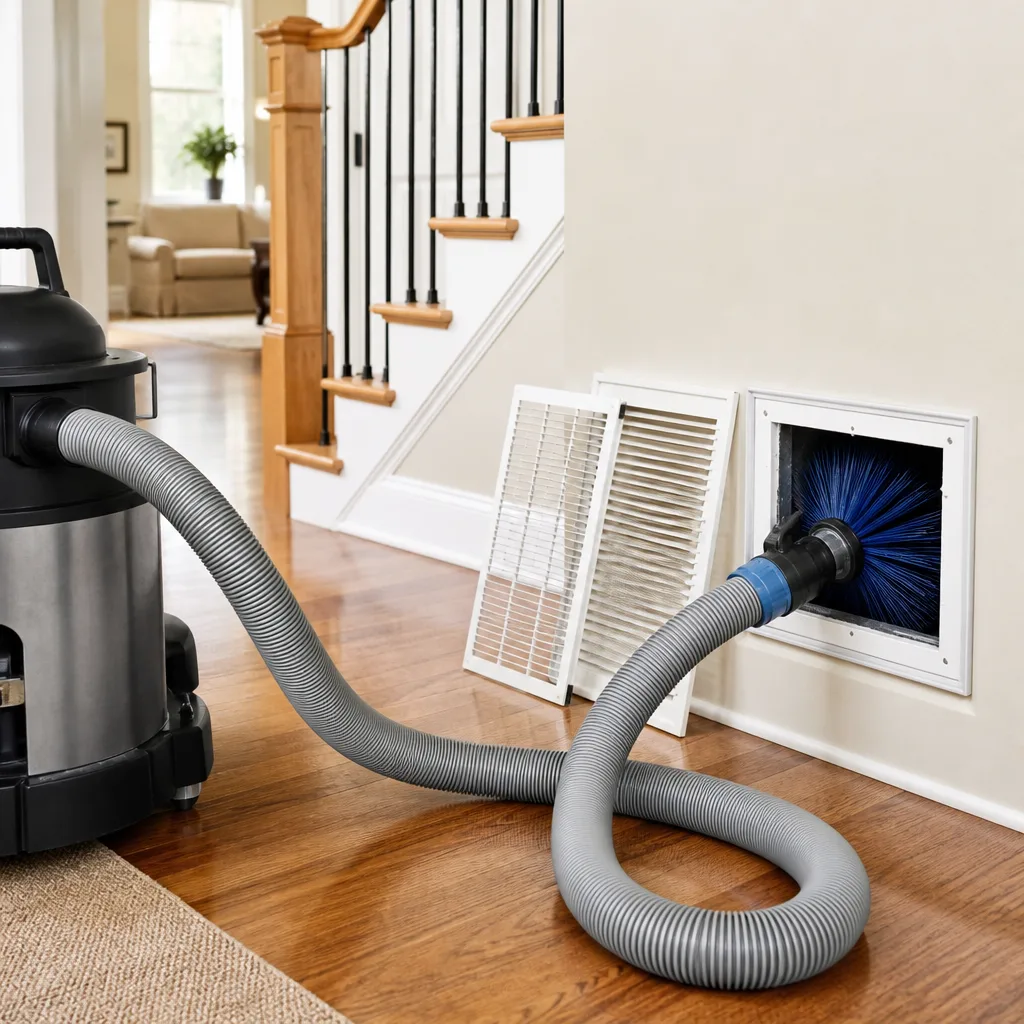
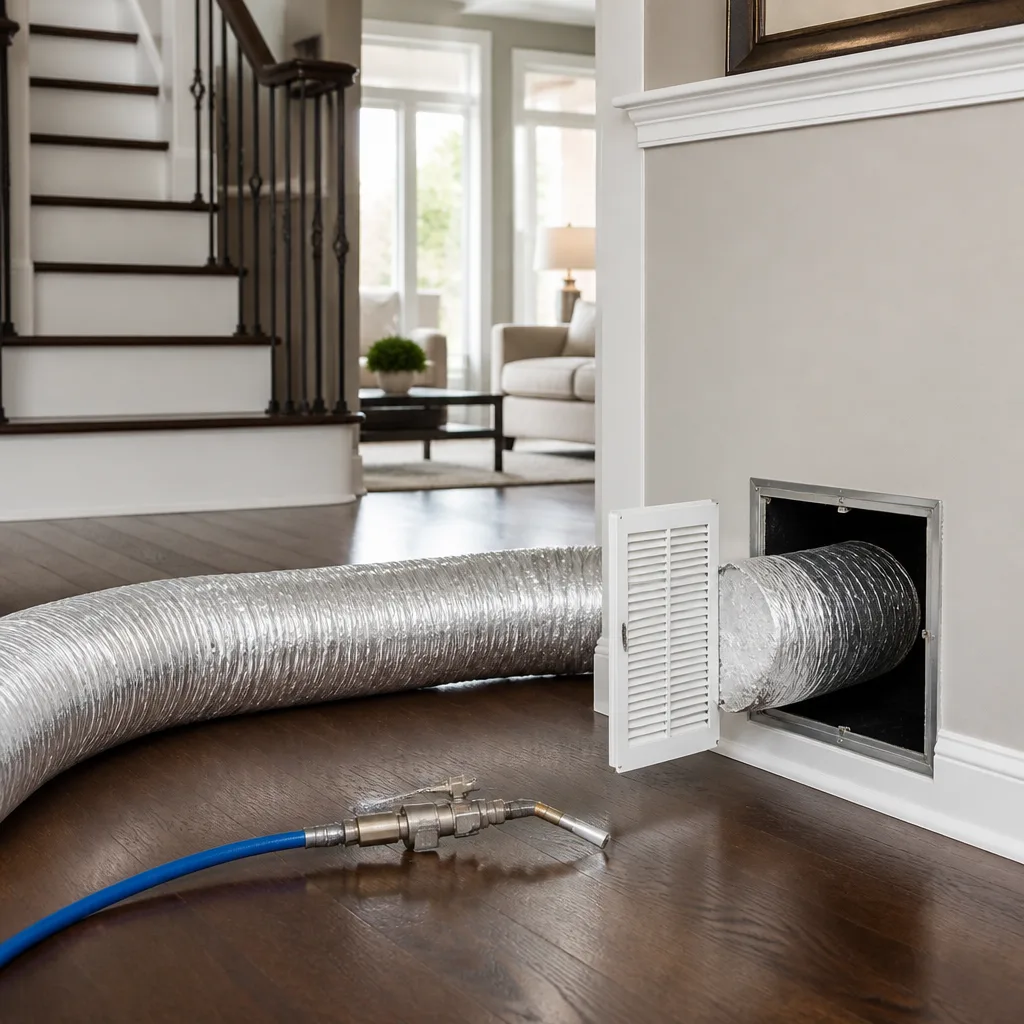
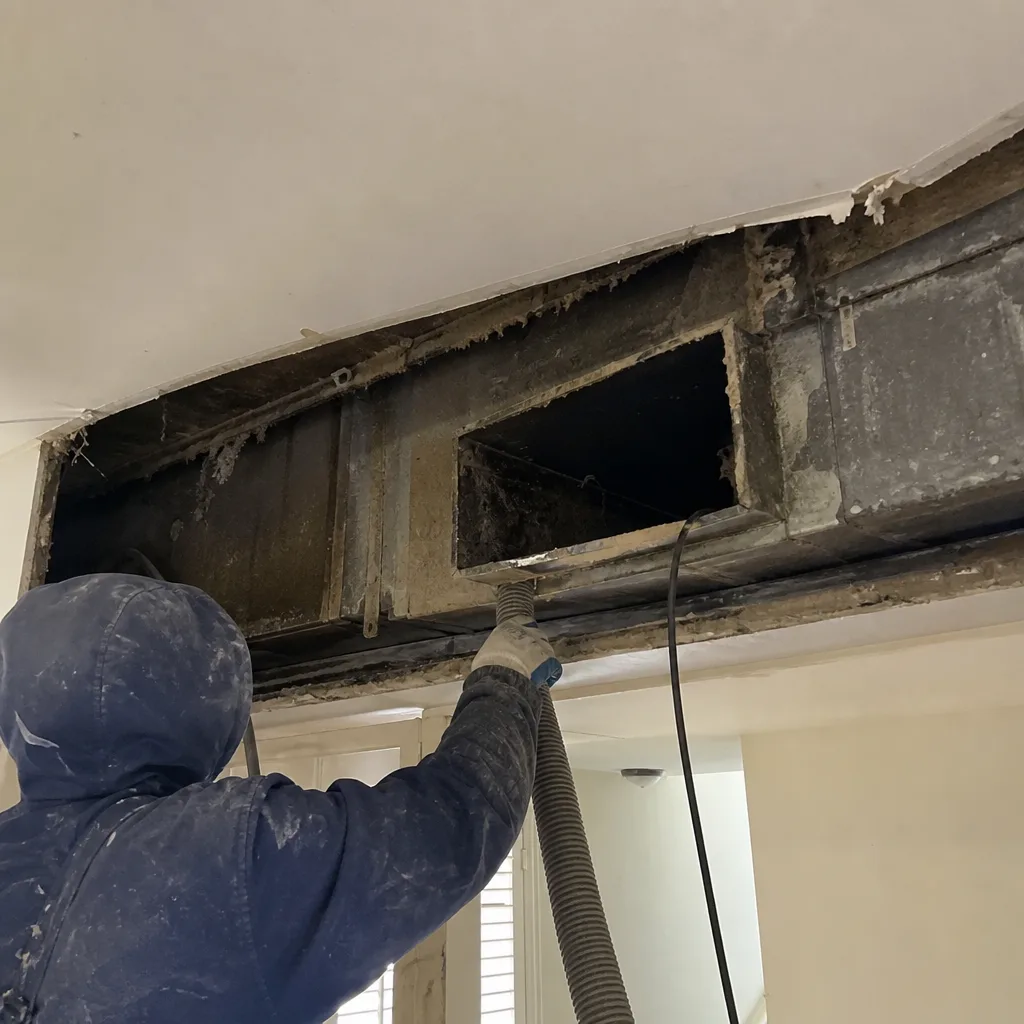 Before
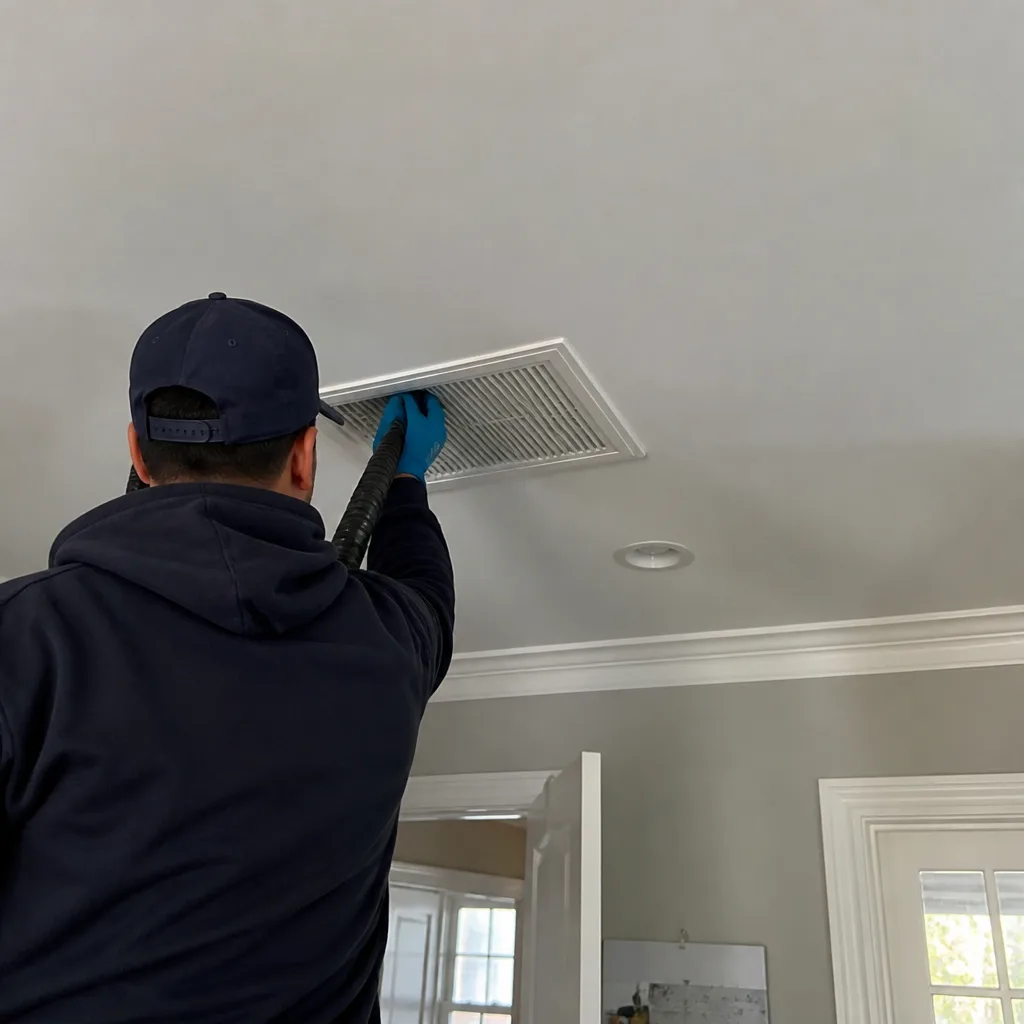 After
After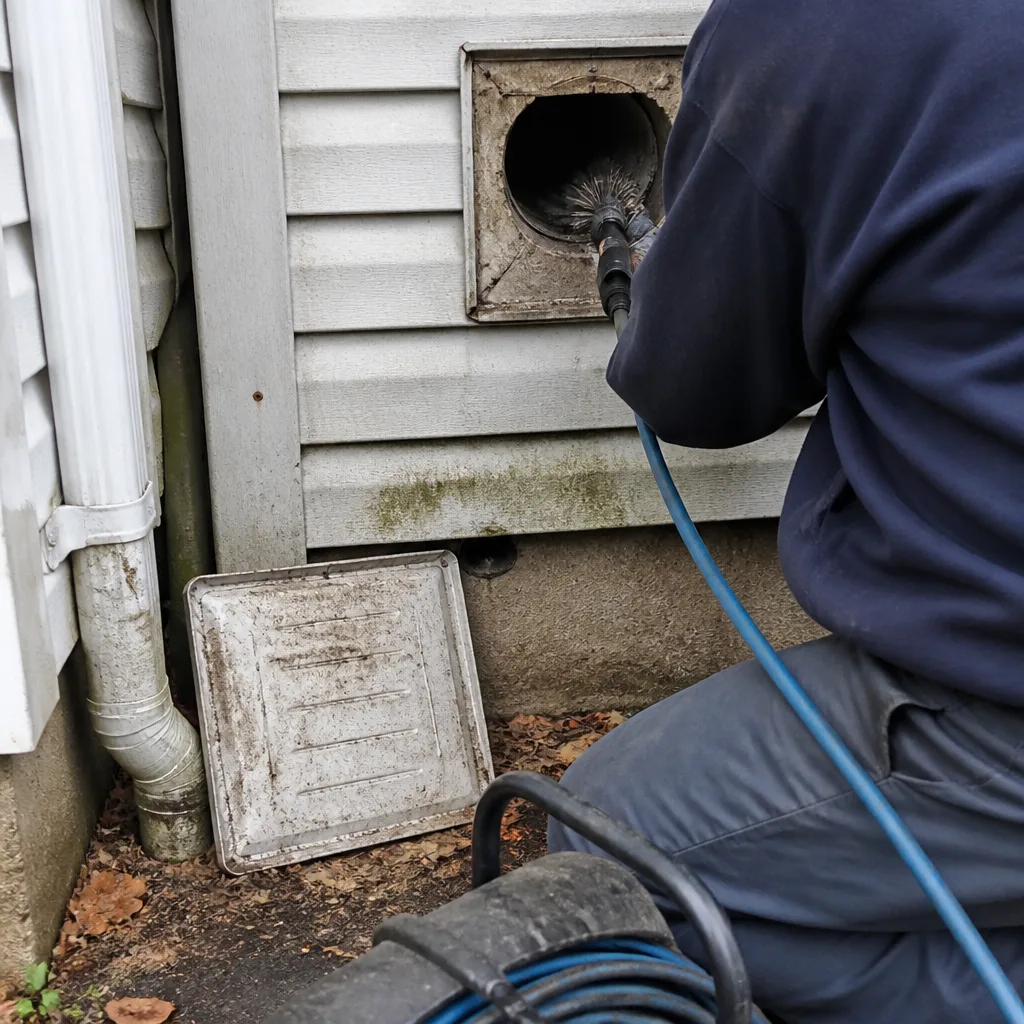 Before
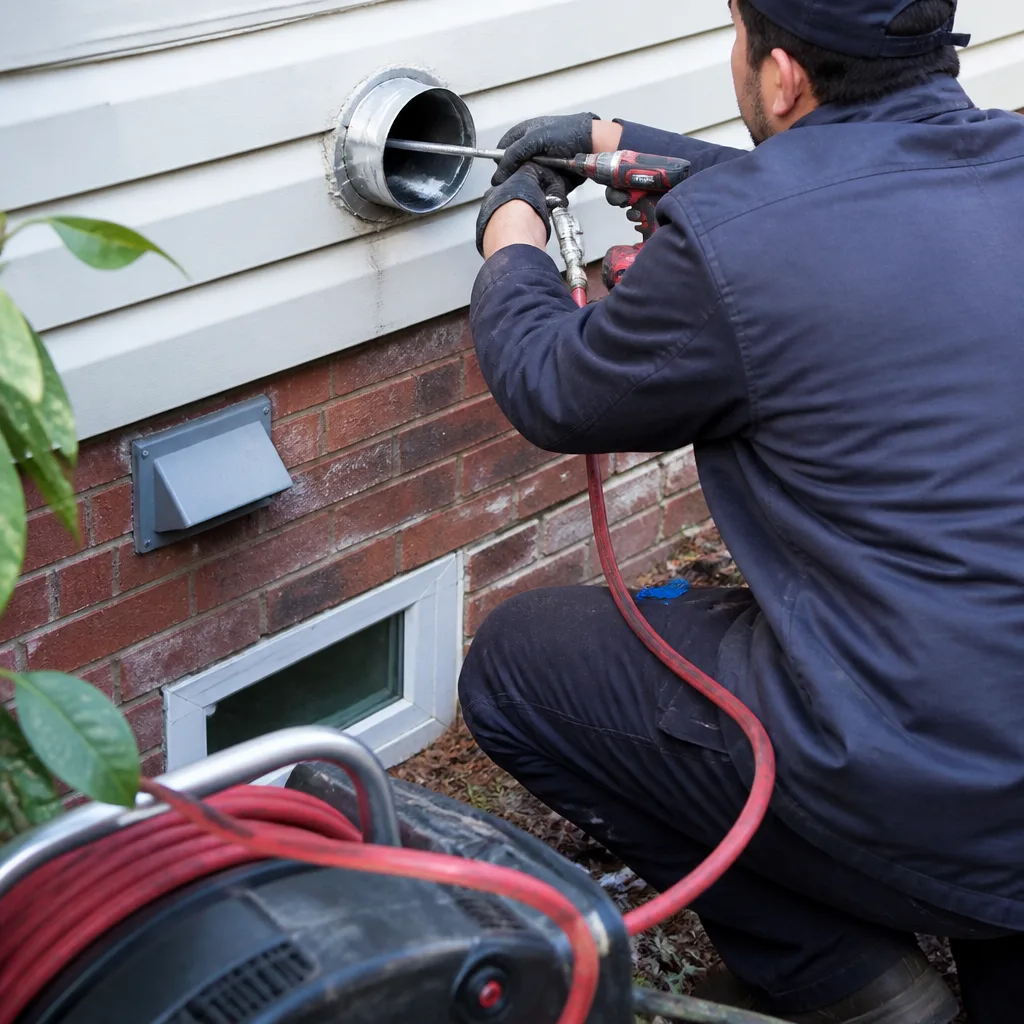 After
After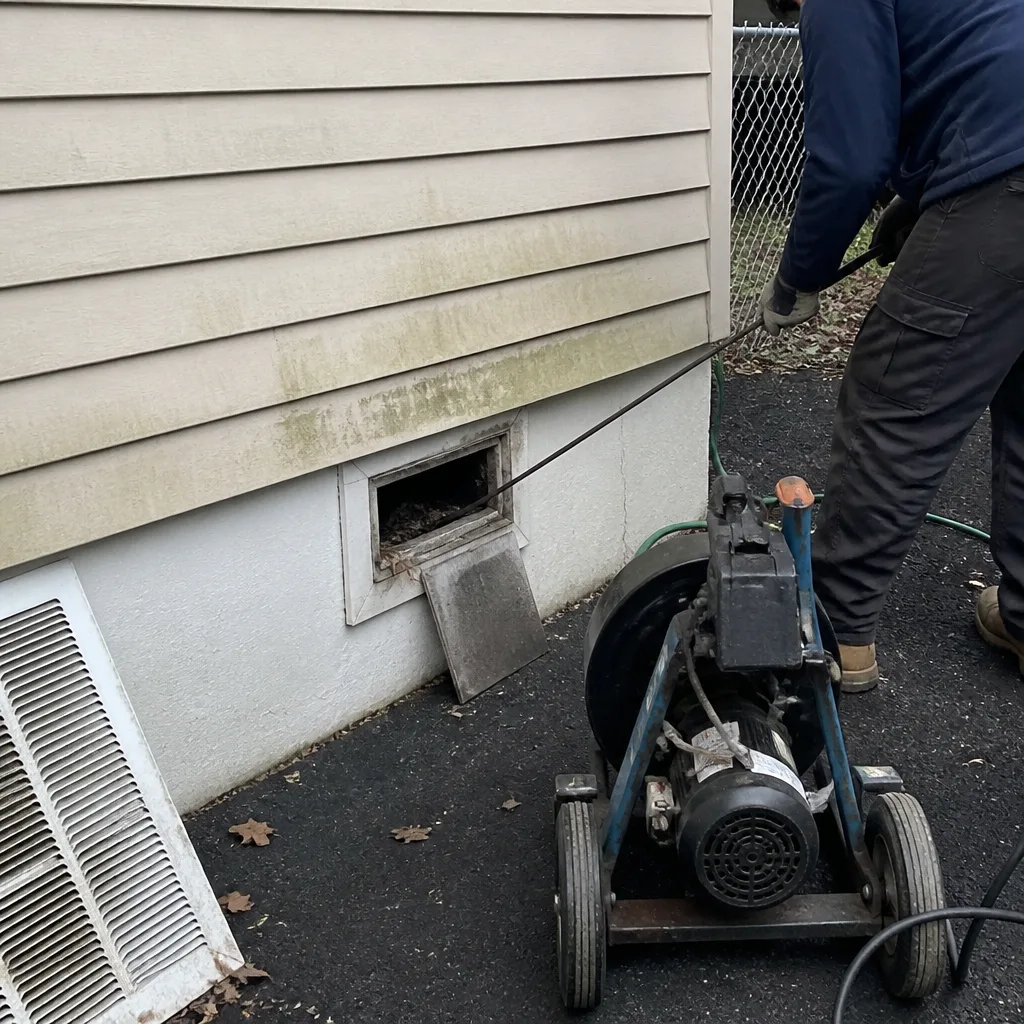 Before
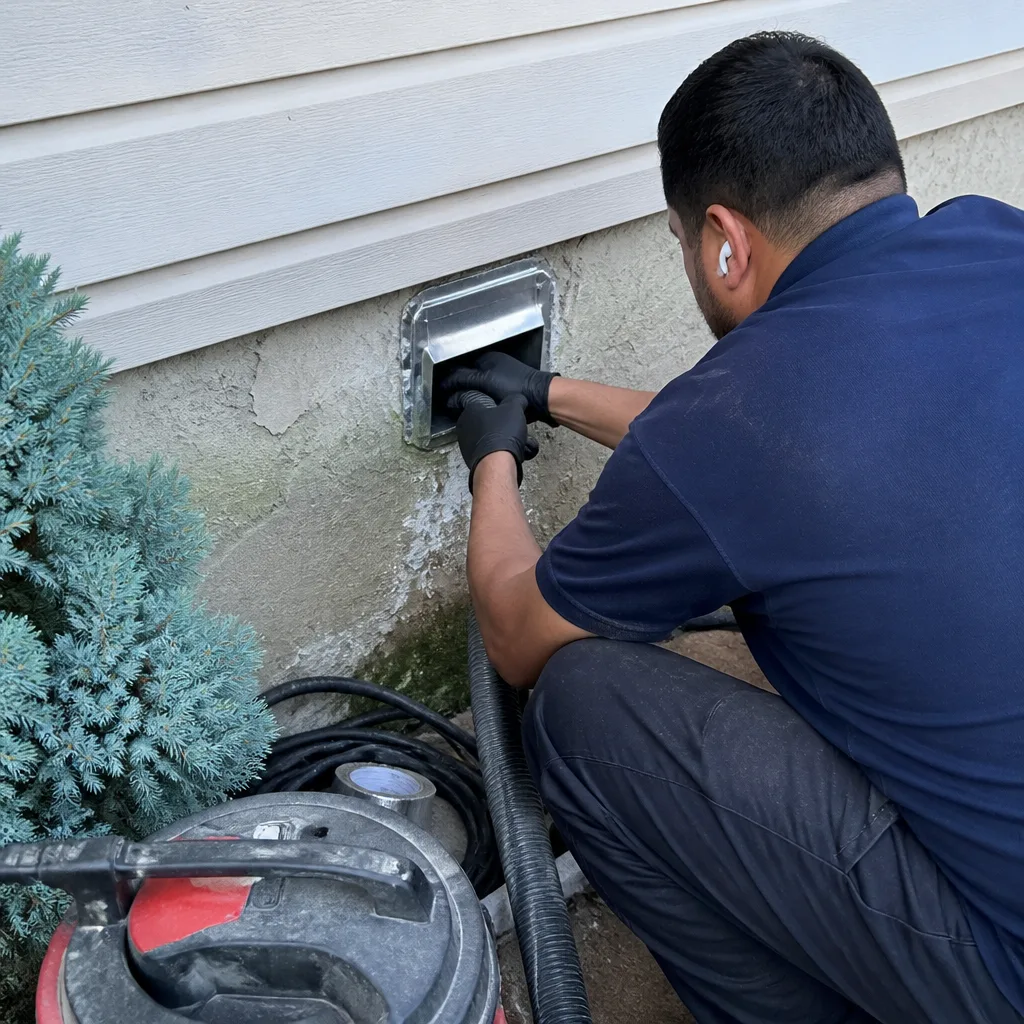 After
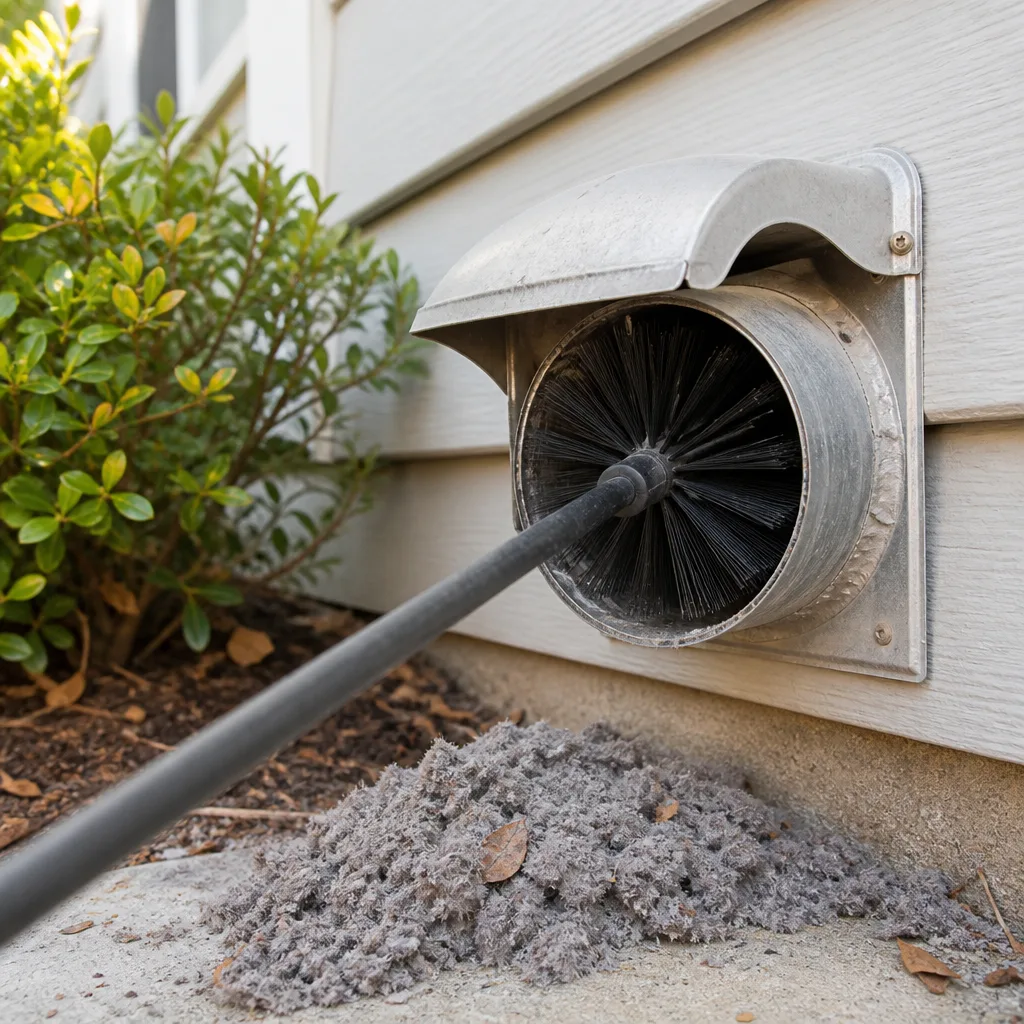
AfterLint building up around the outside vent
What’s Happening
Lint collecting around your exterior dryer vent flap almost always means the vent line is partially or fully blocked. When airflow can’t push debris all the way out, it backs up, deposits along the duct walls, and escapes around the flap edges instead of through them. This is the most common visible sign of a dryer vent that needs cleaning.
The outside vent is the end of the line. Everything the dryer exhaust carries – moisture, heat, and lint – is supposed to exit through that opening cleanly. When you see buildup around the flap rather than expelled past it, the system has already lost enough airflow to start depositing material it couldn’t move. That deposit is a signal, not the whole problem. The blockage causing it sits somewhere in the duct run between the dryer and the wall cap, and that’s where the real clearing work happens.
Why It Happens
1. The duct run has a partial or full lint blockage
Dryer vent lines accumulate lint along every foot of interior duct – especially at bends, transitions, and anywhere the duct diameter narrows. Over time, that lint compresses into a mat dense enough to choke airflow significantly. If your dryer is taking two cycles to dry what used to take one, and the outside flap is ringed with lint, a clogged interior run is almost certainly the explanation.
2. The duct run is too long or has too many bends
Every foot of duct and every 90-degree elbow reduces the system’s exhaust capacity. A run that exceeds the manufacturer’s maximum equivalent length can’t move debris efficiently even when it’s clean. You’ll usually notice this if the vent was recently cleaned but the problem returned quickly – the geometry of the duct is working against you, not just the lint.
3. The exterior flap is damaged, stuck, or missing a screen
Vent flaps open under air pressure and close when the dryer stops. If the flap is bent, corroded, or stuck partially open, lint that should exit gets caught at the hood instead of clearing it. You can check this yourself by looking at the exterior cap when the dryer is running – the flap should open fully and move freely. If it doesn’t, that’s a mechanical problem on top of whatever is happening inside the duct.
4. Accumulated moisture has caused lint to mat and stick
In climates with cold winters or high humidity, the temperature difference between warm dryer exhaust and a cool duct wall causes condensation. Wet lint doesn’t float out – it sticks, compresses, and builds faster than dry lint does. If you’ve noticed the area around the outside vent looks damp or dark in addition to lint-ringed, moisture is likely a factor in how the blockage formed.
What to Do Right Now
- Stop using the dryer. A blocked vent forces heat to stay inside the drum and duct. Continuing to run the dryer with a restricted exhaust is a fire risk. Pause laundry until the vent is cleared.
- Look at the exterior cap from outside. Note whether the flap opens when the dryer runs, whether there’s visible lint packed inside the hood, and whether the cap itself looks damaged. Take a photo – it’s useful when a technician arrives.
- Check the dryer connection at the back. The flexible duct connecting the dryer to the wall should be intact, unkinked, and not compressed behind the unit. A crushed transition duct restricts airflow just as badly as a blocked run. Do not disconnect or pull the dryer out from a wall if there’s a gas connection behind it – gas line work requires a licensed professional, not a homeowner pulling the appliance out alone.
- Clear visible lint from the exterior cap opening. If lint is packed at the opening of the exterior cap and you can reach it safely from the ground, removing what’s visible at the surface is reasonable. Don’t probe into the duct with tools – you can compact the blockage further or damage the duct lining.
- Note how long it’s been since the vent was last cleaned. If you can’t remember, or if it’s been more than a year with regular dryer use, that context matters when you call for service.
BeforeAfterHow We Fix It
When your local CleanRun Air Duct Cleaning team arrives, the technician starts by running the dryer briefly to measure actual exhaust airflow at the exterior cap – a reading that tells us how restricted the system is before we open anything up. That’s the “Evidence” step under the H.A.V.E.N. Standard: we document what we found, not just what we assumed.
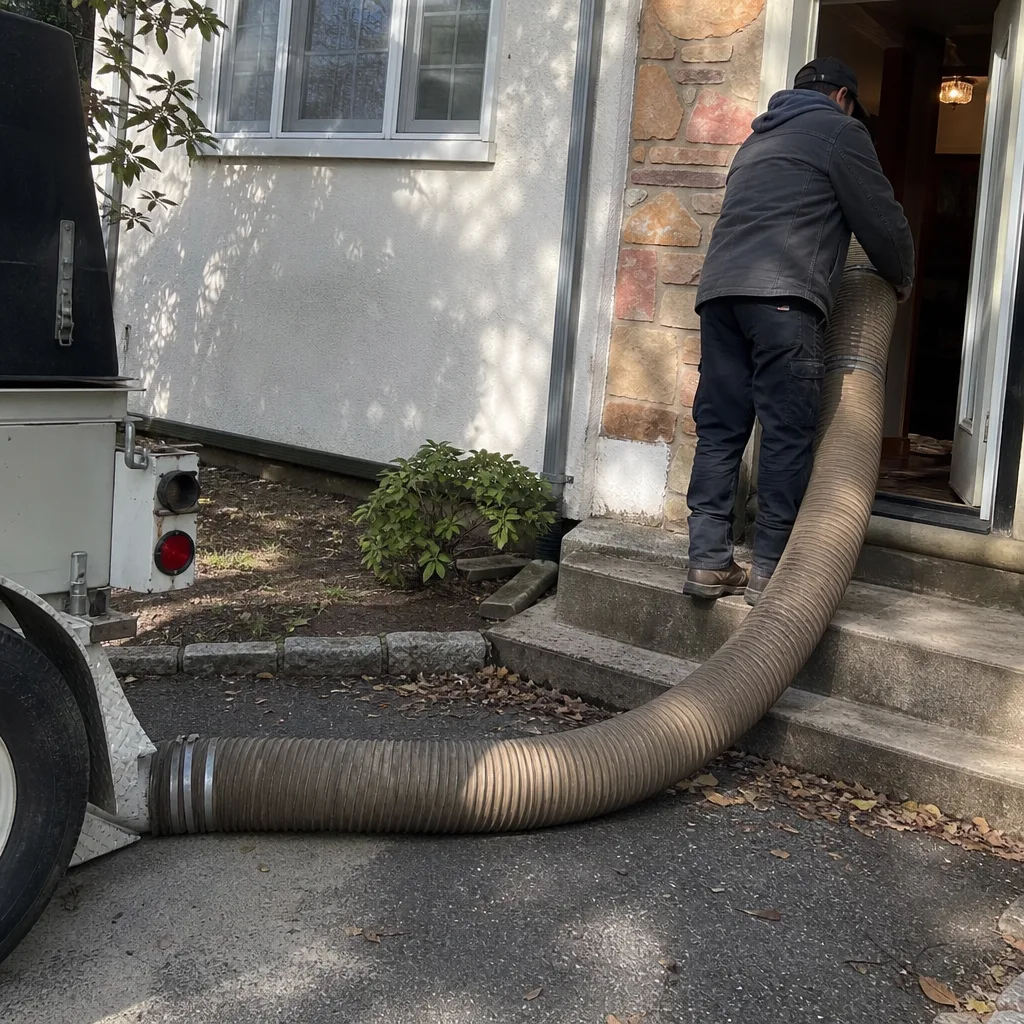
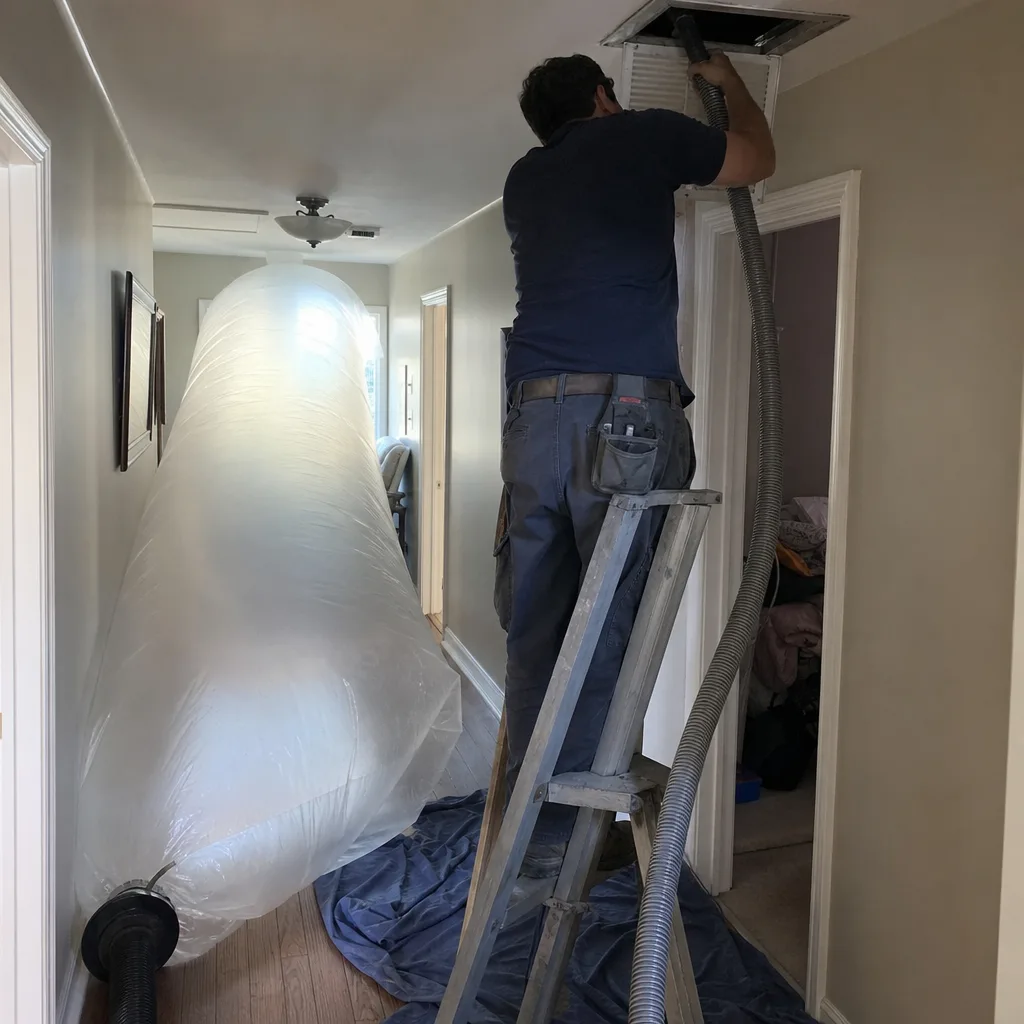
The clearing work is dryer vent cleaning, and on a standard residential run, it’s typically completed in under an hour using Rotobrush and Nikro equipment – rotary brush action that breaks up compacted lint, paired with negative-pressure extraction that pulls it out rather than pushing it further in. If the inspection reveals a damaged section of duct, a crushed transition, or a flap that needs replacement, that gets quoted separately in writing before anything additional starts – no mid-job additions without your sign-off first.
Before we leave, you receive the Documented Photo Record: inside the run before and after, the airflow reading, and the exterior cap condition. The 365-Day Done Right Promise covers the work. Every price is written before a single panel comes off – that’s Clause 1 of the Haven Standard, and it doesn’t have exceptions.
Frequently Asked Questions
It’s a real hazard, not a marketing claim. The U.S. Fire Administration cites failure to clean dryer vents as one of the leading causes of residential dryer fires, and a partially blocked exhaust is exactly the condition where heat builds to the point of igniting accumulated lint. If you’re seeing visible lint buildup at the exterior cap, the interior of the duct is worse. Stop using the dryer and call (806) 606-6902.
It shouldn’t wait if you’re still using the dryer. A blocked dryer vent is one of the situations where “I’ll get to it” has a real downside – prolonged heat buildup inside a lint-packed duct is the combination that causes fires. Take the dryer offline today and schedule the cleaning as soon as your local CleanRun team can get to you. Call (806) 606-6902 to find out what’s available in your area.
This is the right question to ask, and it’s the reason CleanRun photographs the inside of every duct run before and after work – every job, since 2013. You’ll receive a Documented Photo Record showing the interior condition at the start and the cleared condition when we finished. If a company can’t show you that, you don’t know what they did.
We don’t publish a flat number here because the price depends on run length, number of bends, whether the cap or transition duct needs replacement, and access conditions – and quoting a number that doesn’t apply to your home doesn’t help you. What we can tell you is that every CleanRun job starts with a written price before any work begins. Call (806) 606-6902, describe what you’re seeing, and your local team will put a real number in writing before anyone touches anything.
Get It Fixed
Your local CleanRun Air Duct Cleaning team handles dryer vent cleaning with a written price before work starts, a Documented Photo Record when it’s done, and the 365-Day Done Right Promise behind it. Call (806) 606-6902 today – or book online – and stop the dryer until the vent is clear.
Written by Tomas Reyes, Owner & Lead Technician at CleanRun Air Duct Cleaning, serving homeowners nationwide since 2013.
What Our Customers Say
"They found a disconnected duct in the crawl space that had been dumping conditioned air under the house for years. Photographed it, quoted the repair, fixed it."
- Devon A."On time, professional, and explained what the readings meant without talking down to me."
- Warren E."The before and after photographs of each run are the reason I used them. You cannot argue with what came out of the return."
- Marguerite O.